
Remove a background
The text this link names is not on a guide page now. Use the search at the end of this page to find it.
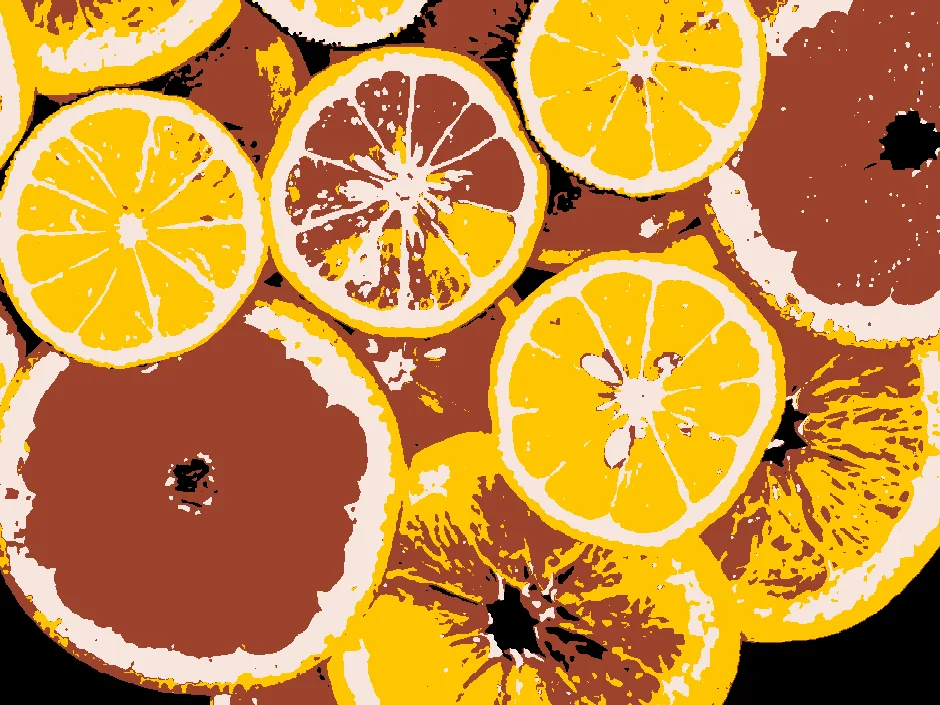
Only the subject prints. The rest shows the image below it, or prints in the background color.
DesignOpen the Layout tab
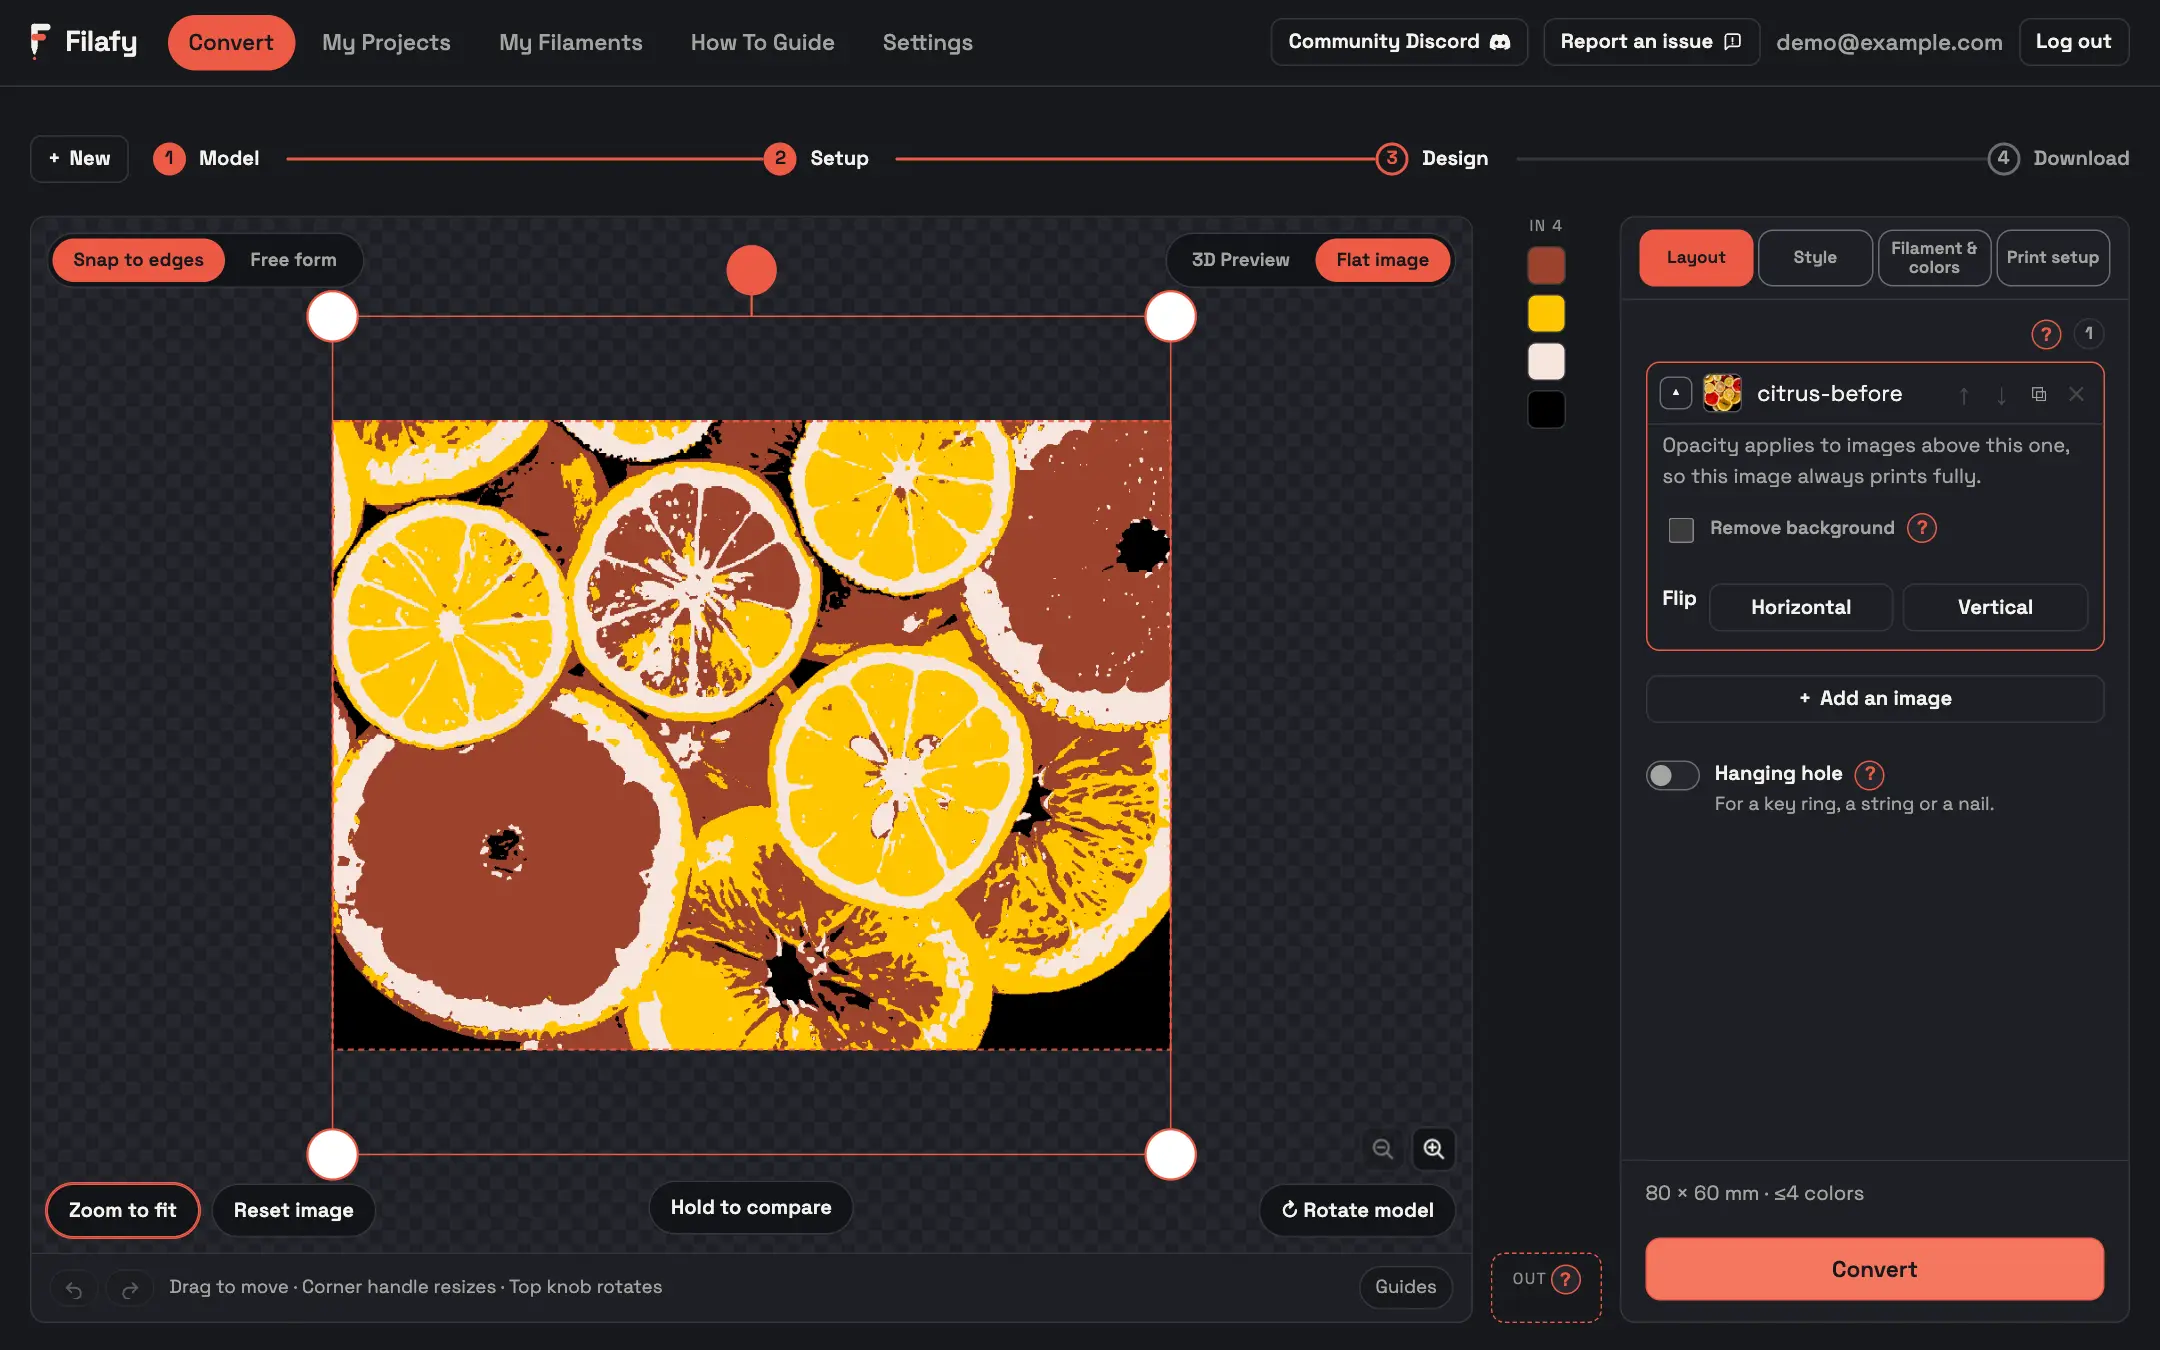
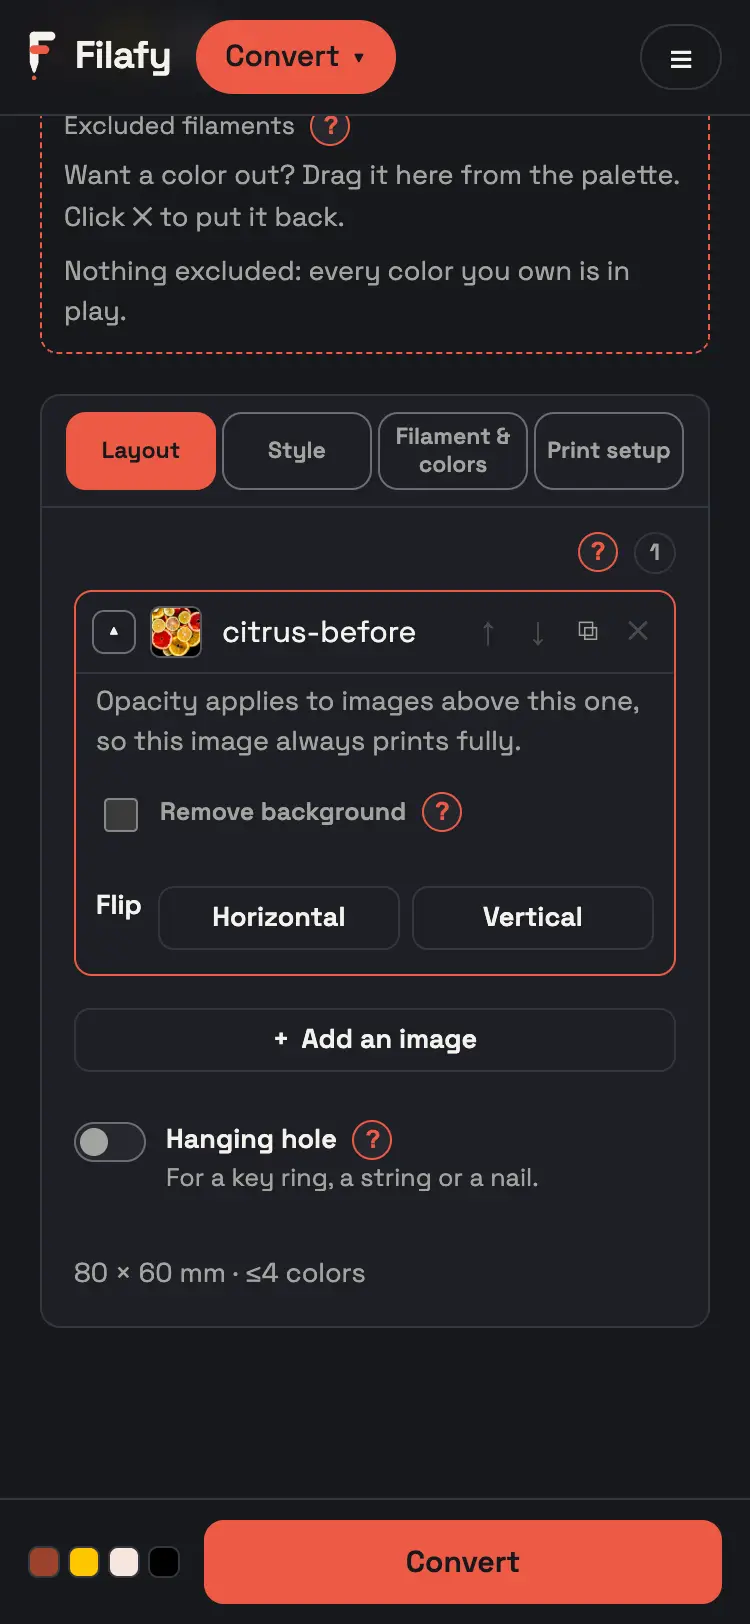
On Design, open the Layout tab.
 1
 1
DesignOpen your image's row
Click your image's row to open it.
Why
Each image has its own switch. With several images, open the one you want to cut out.
22DesignTick Remove background
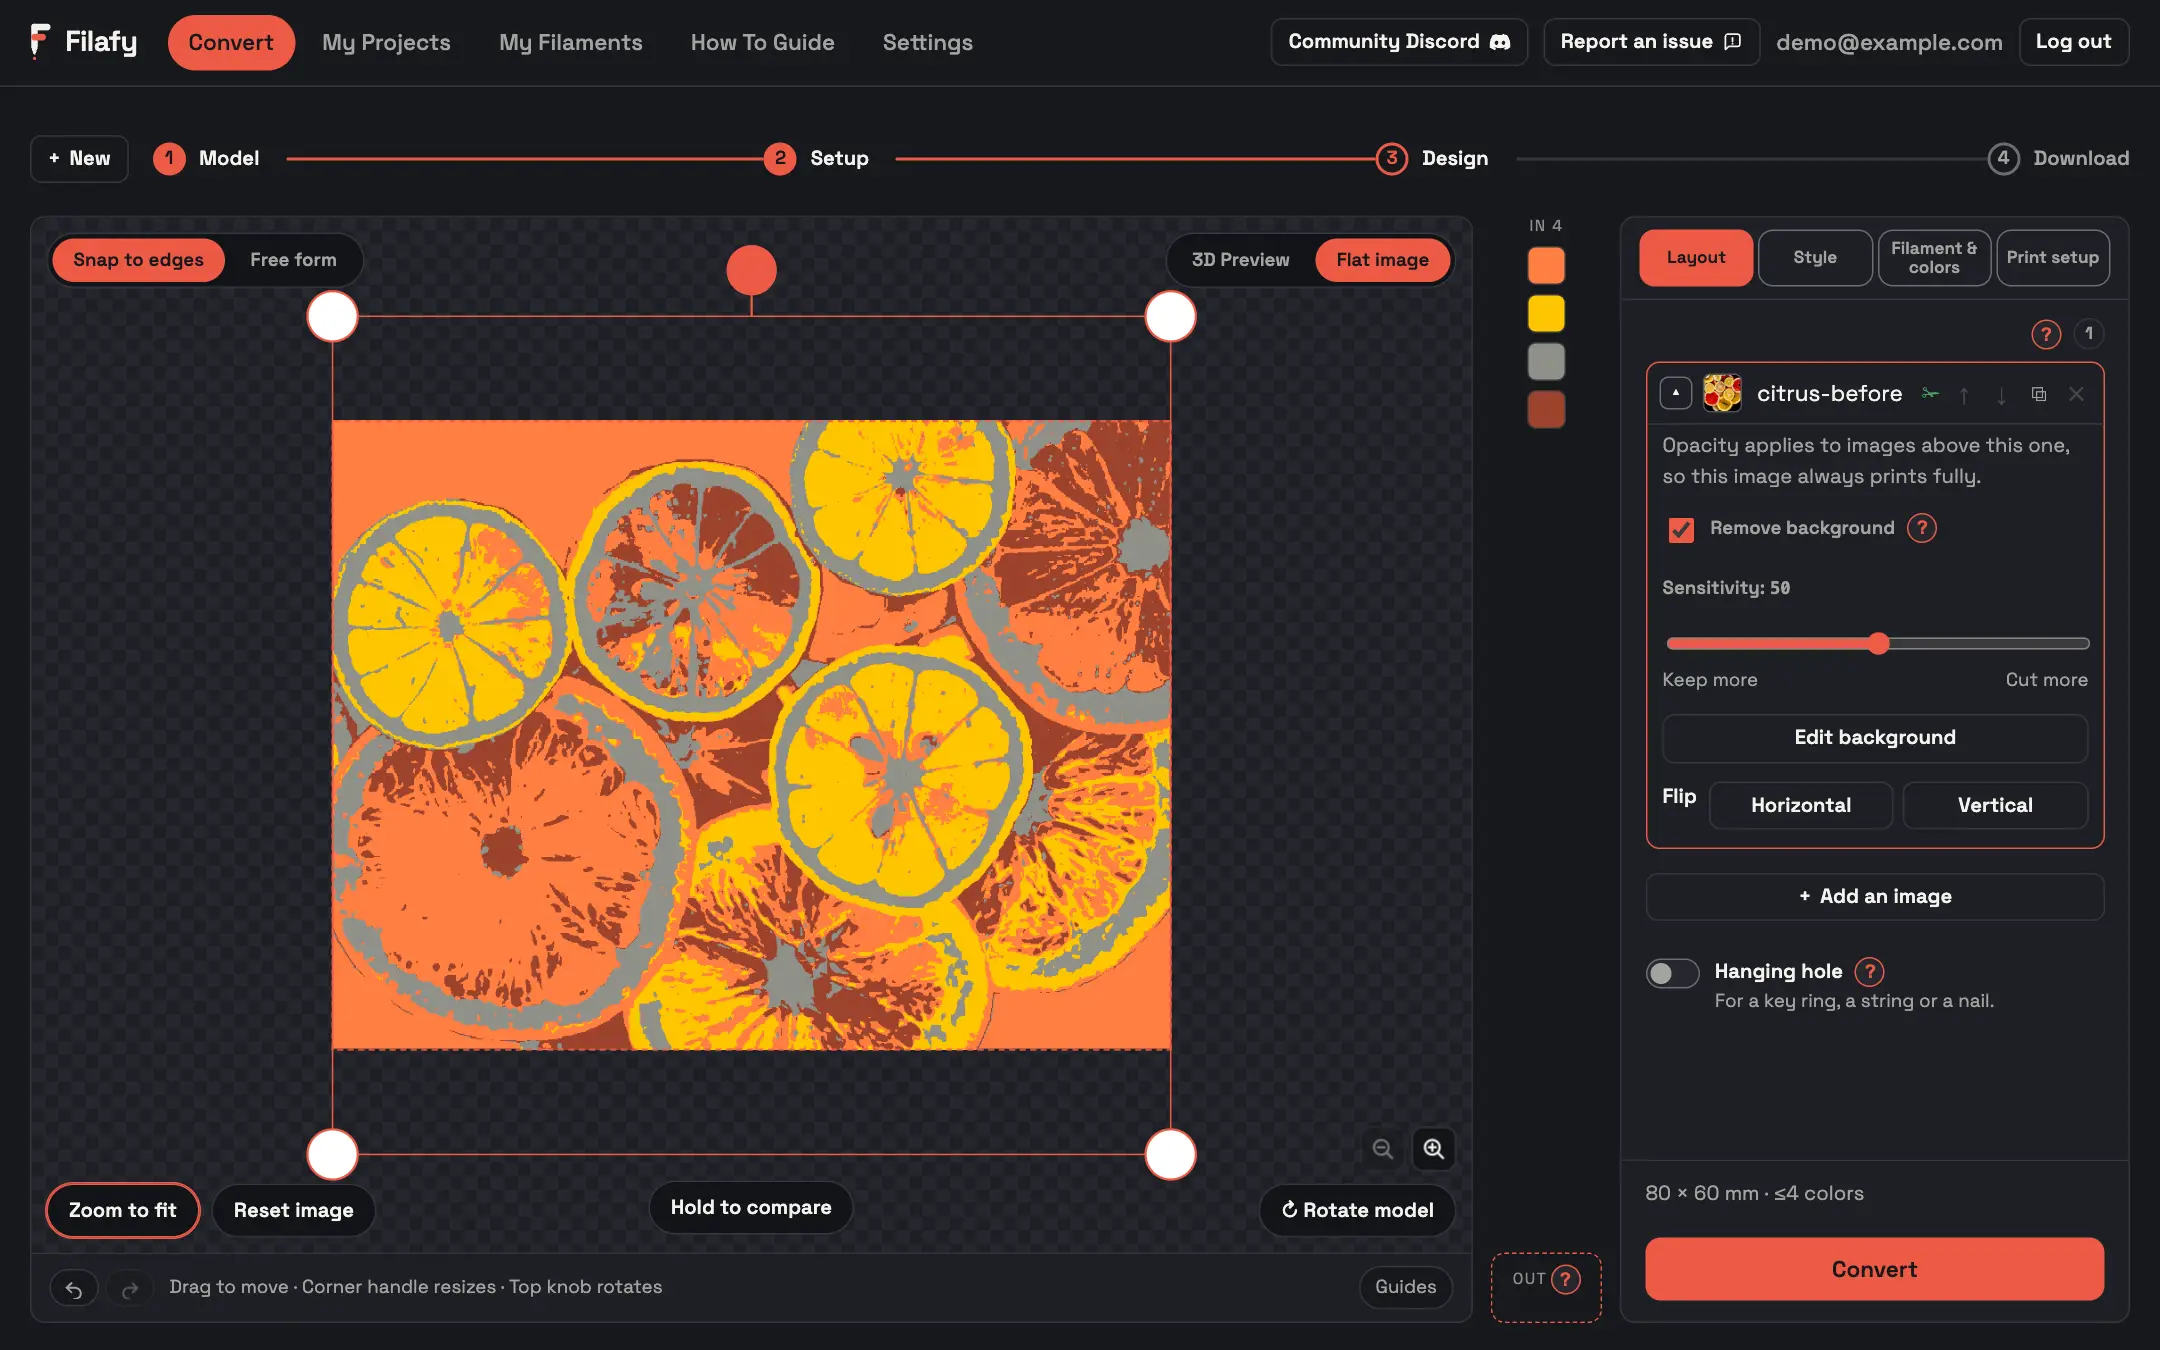
Tick Remove background.
Why
Filafy cuts the subject out of the photo. Each cutout counts toward your background removal limit of 100 per hour.
 33
DesignAdjust the edge
Drag Sensitivity until the edge looks right.
Dragging it does not count as a new cutout. Drag it very fast and Filafy asks you to wait a few seconds.
 4
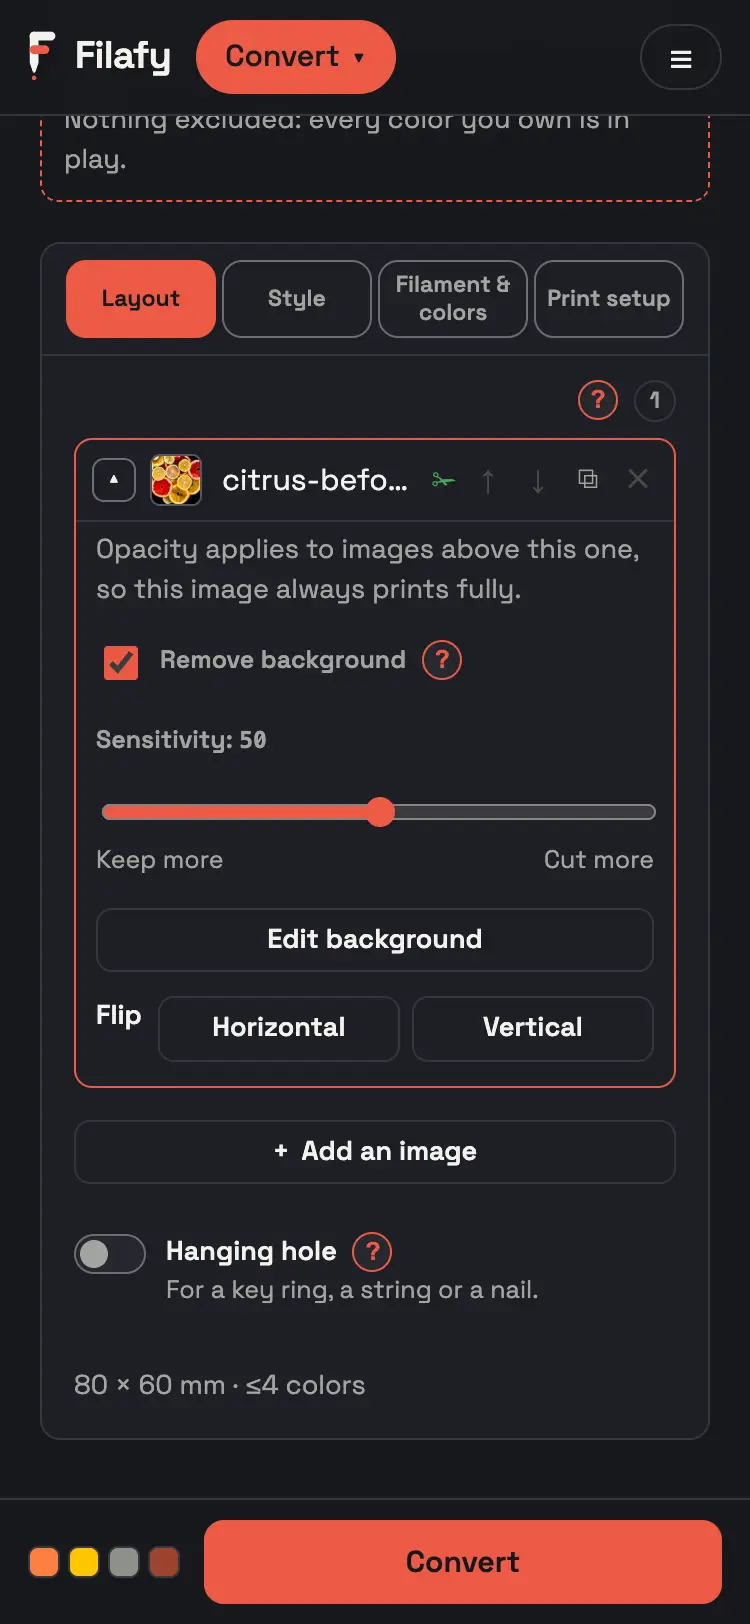 4
DesignPick the color around it
Open Filament & colors. Pick a Background / base color.
Why
That filament prints everywhere the subject does not cover.
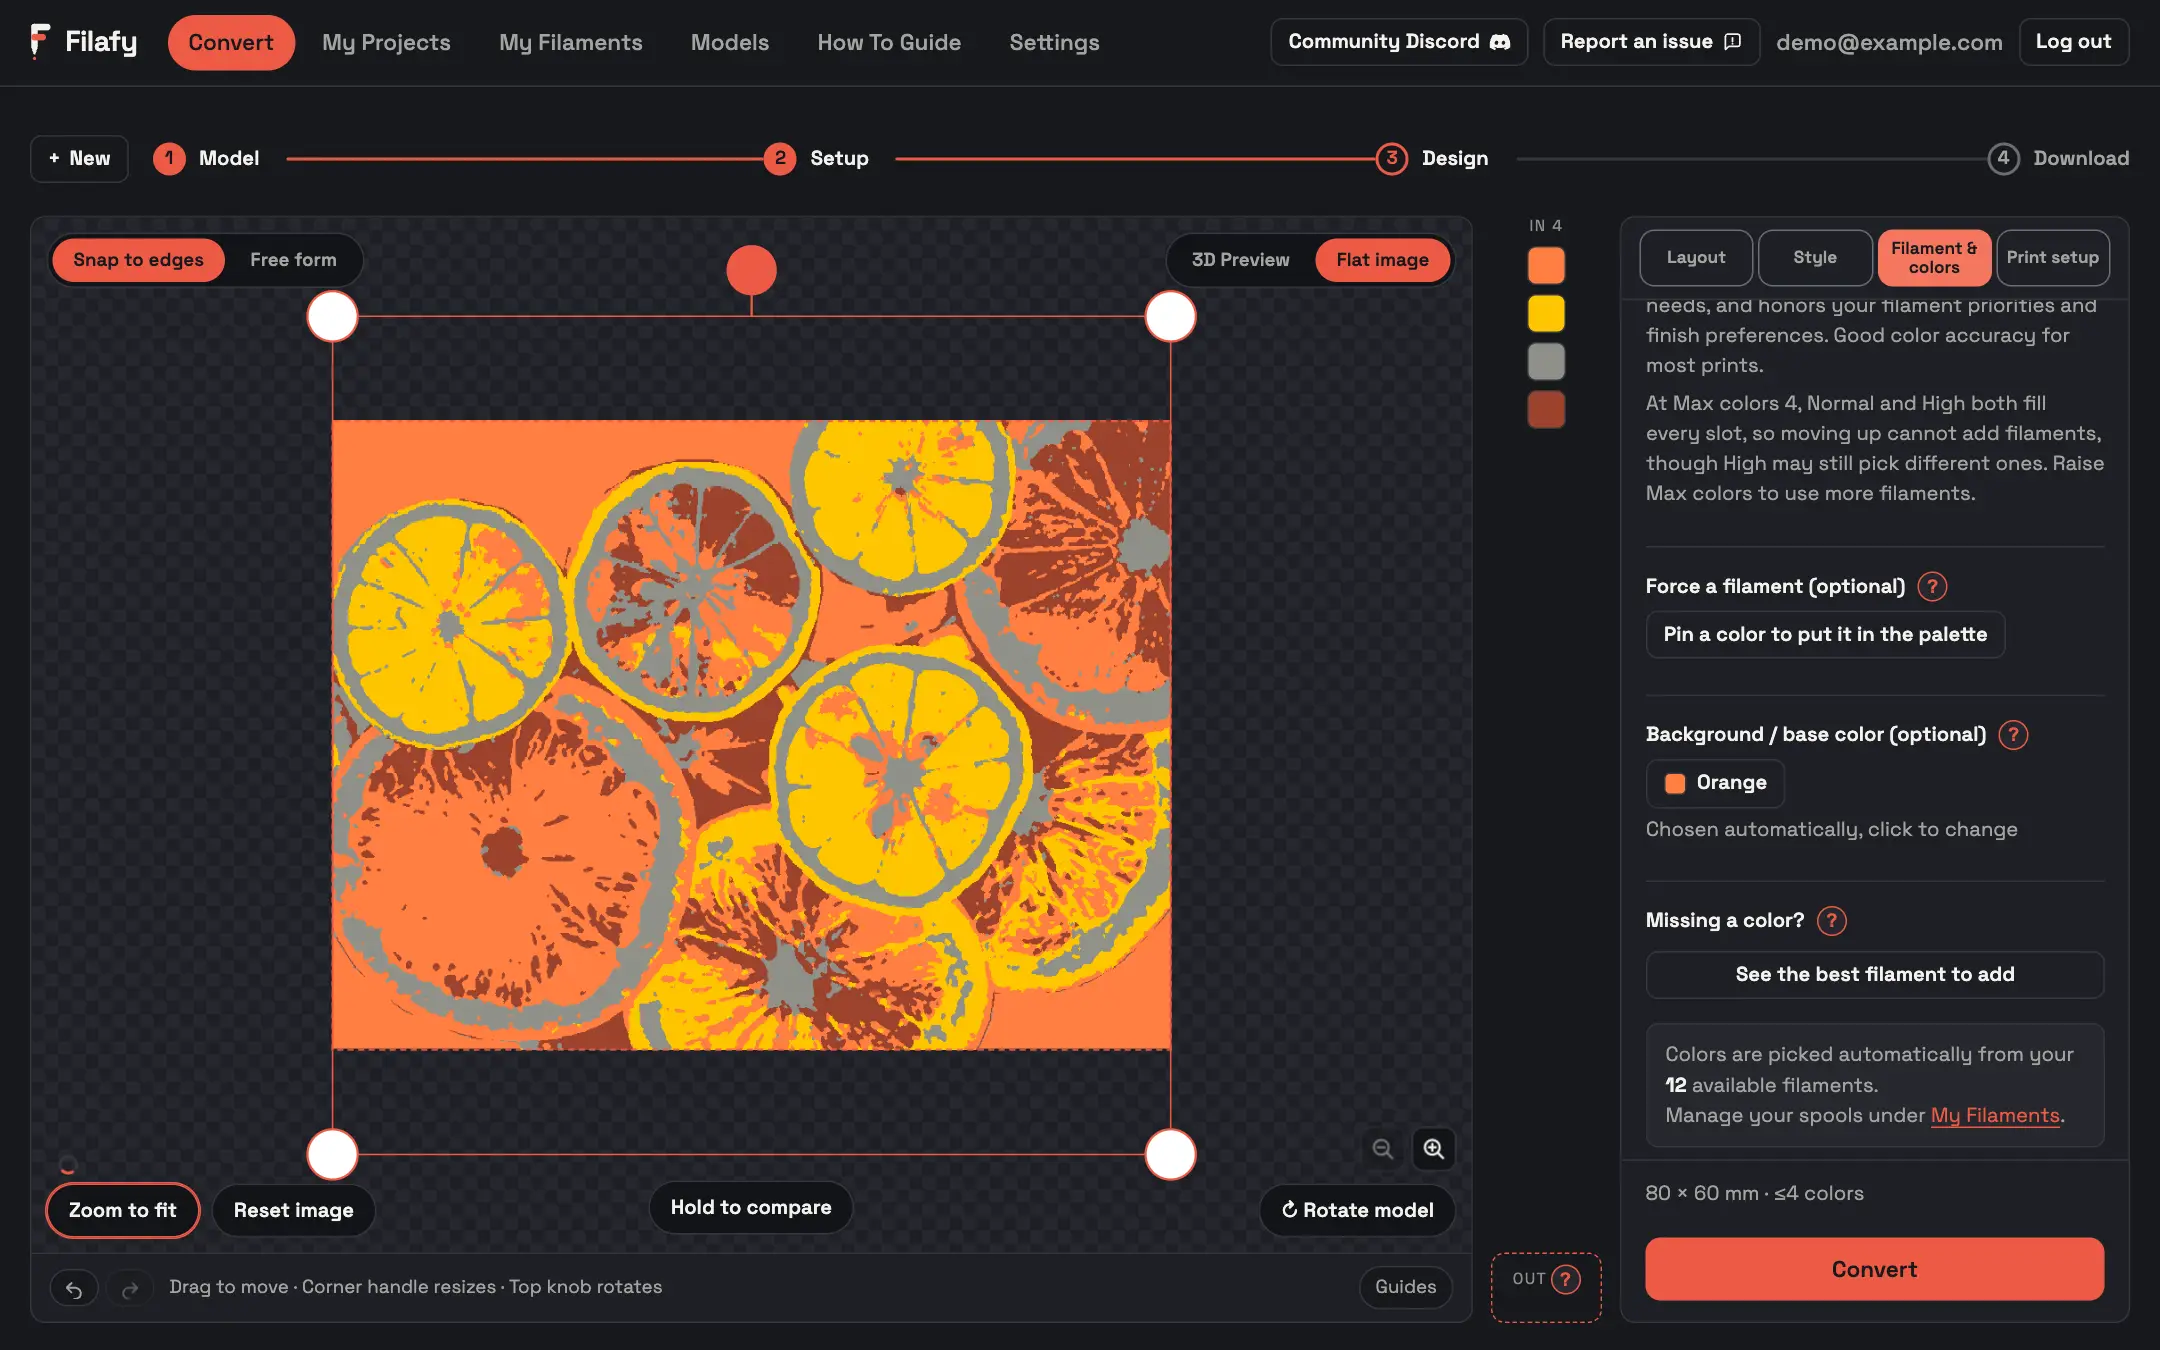 5
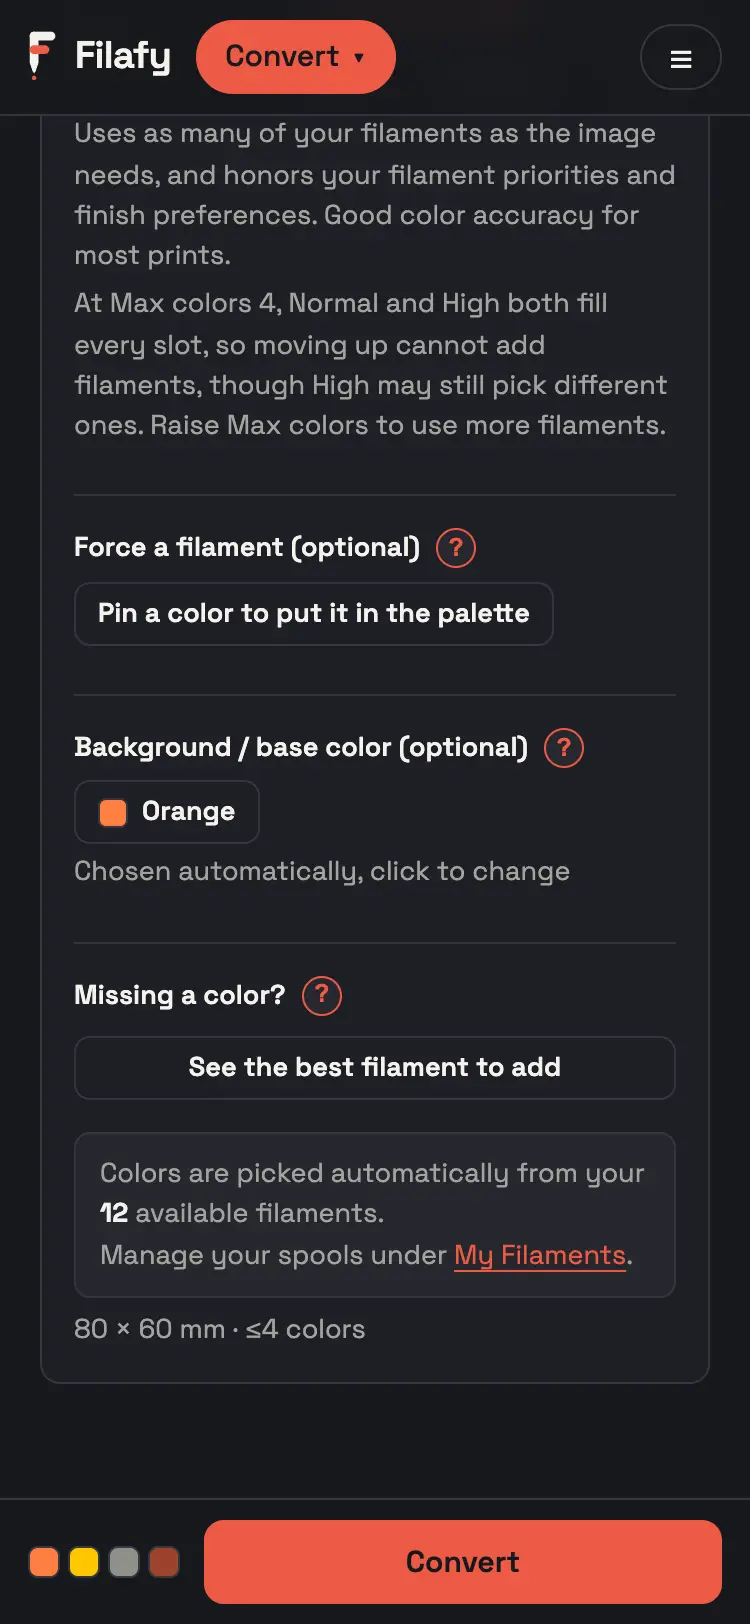 5
If it goes wrong
- Too much of the subject is gone. Drag Sensitivity toward Keep more.
- No Sensitivity keeps the part you want. Press Edit background and paint that part back with Add to subject.
- You see the image below through the cutout. That is how layers work. Move the image to the bottom, or pick a base color.
Design it and convert
Remove background cuts an image’s subject out of its photo so only the subject prints. It works on every model. Open the image’s row in the Layout tab and switch it on, per image. A Sensitivity slider fine tunes the edge. Anything the subject does not cover shows the image below it, or prints in the background color. To fix a cutout by hand, see Fix a cutout by hand.
Fix a cutout by hand
Edit background fixes a cutout by hand. If the cutout misses part of the subject or keeps some background, press Edit background under the slider. Paint over that part with Add to subject or Remove from subject. The zoom buttons let you paint close to an edge. Press Apply to keep the edit. Your edit stays when you move Sensitivity, and the row shows Edited.
Magic wand changes the cutout by color. Switch the tool from Brush to Magic wand. Click a color in the image. The parts with a similar color join the subject or leave it, as Add to subject or Remove from subject is set. Move Tolerance up to take in more colors, or down to take fewer. With Contiguous off, the color changes everywhere in the image, not only where it touches the place you click.
Scroll to move around a zoomed image. When you point at the image with the magic wand, the parts that a click changes show bright and the rest goes dark. The wand does not keep spots or holes that are too small to print. The editor warns you when a brush stroke or a wand click is too thin to print. It also warns you when an edit makes too many separate pieces, and shows in amber the pieces that the print leaves out. Press Reset to go back to the automatic cutout.
Also on Design
- Place your images
- Pick a style
- Choose the colors
- Add a border or a hanging hole
- Raise colors and regions
- Use the preview
Next stage: 4 Download, Download and print