
Make your first print
The text this link names is not on a guide page now. Use the search at the end of this page to find it.
A painted 3MF. Your slicer opens it with the colors already on it.
ModelChoose a model
On Convert, click a model in the library. Then press Use this model.
Have your own model? Drop the file on Add your 3D model instead.
Why
Every print is an image on one flat face of a model. Filafy picks the face for you.
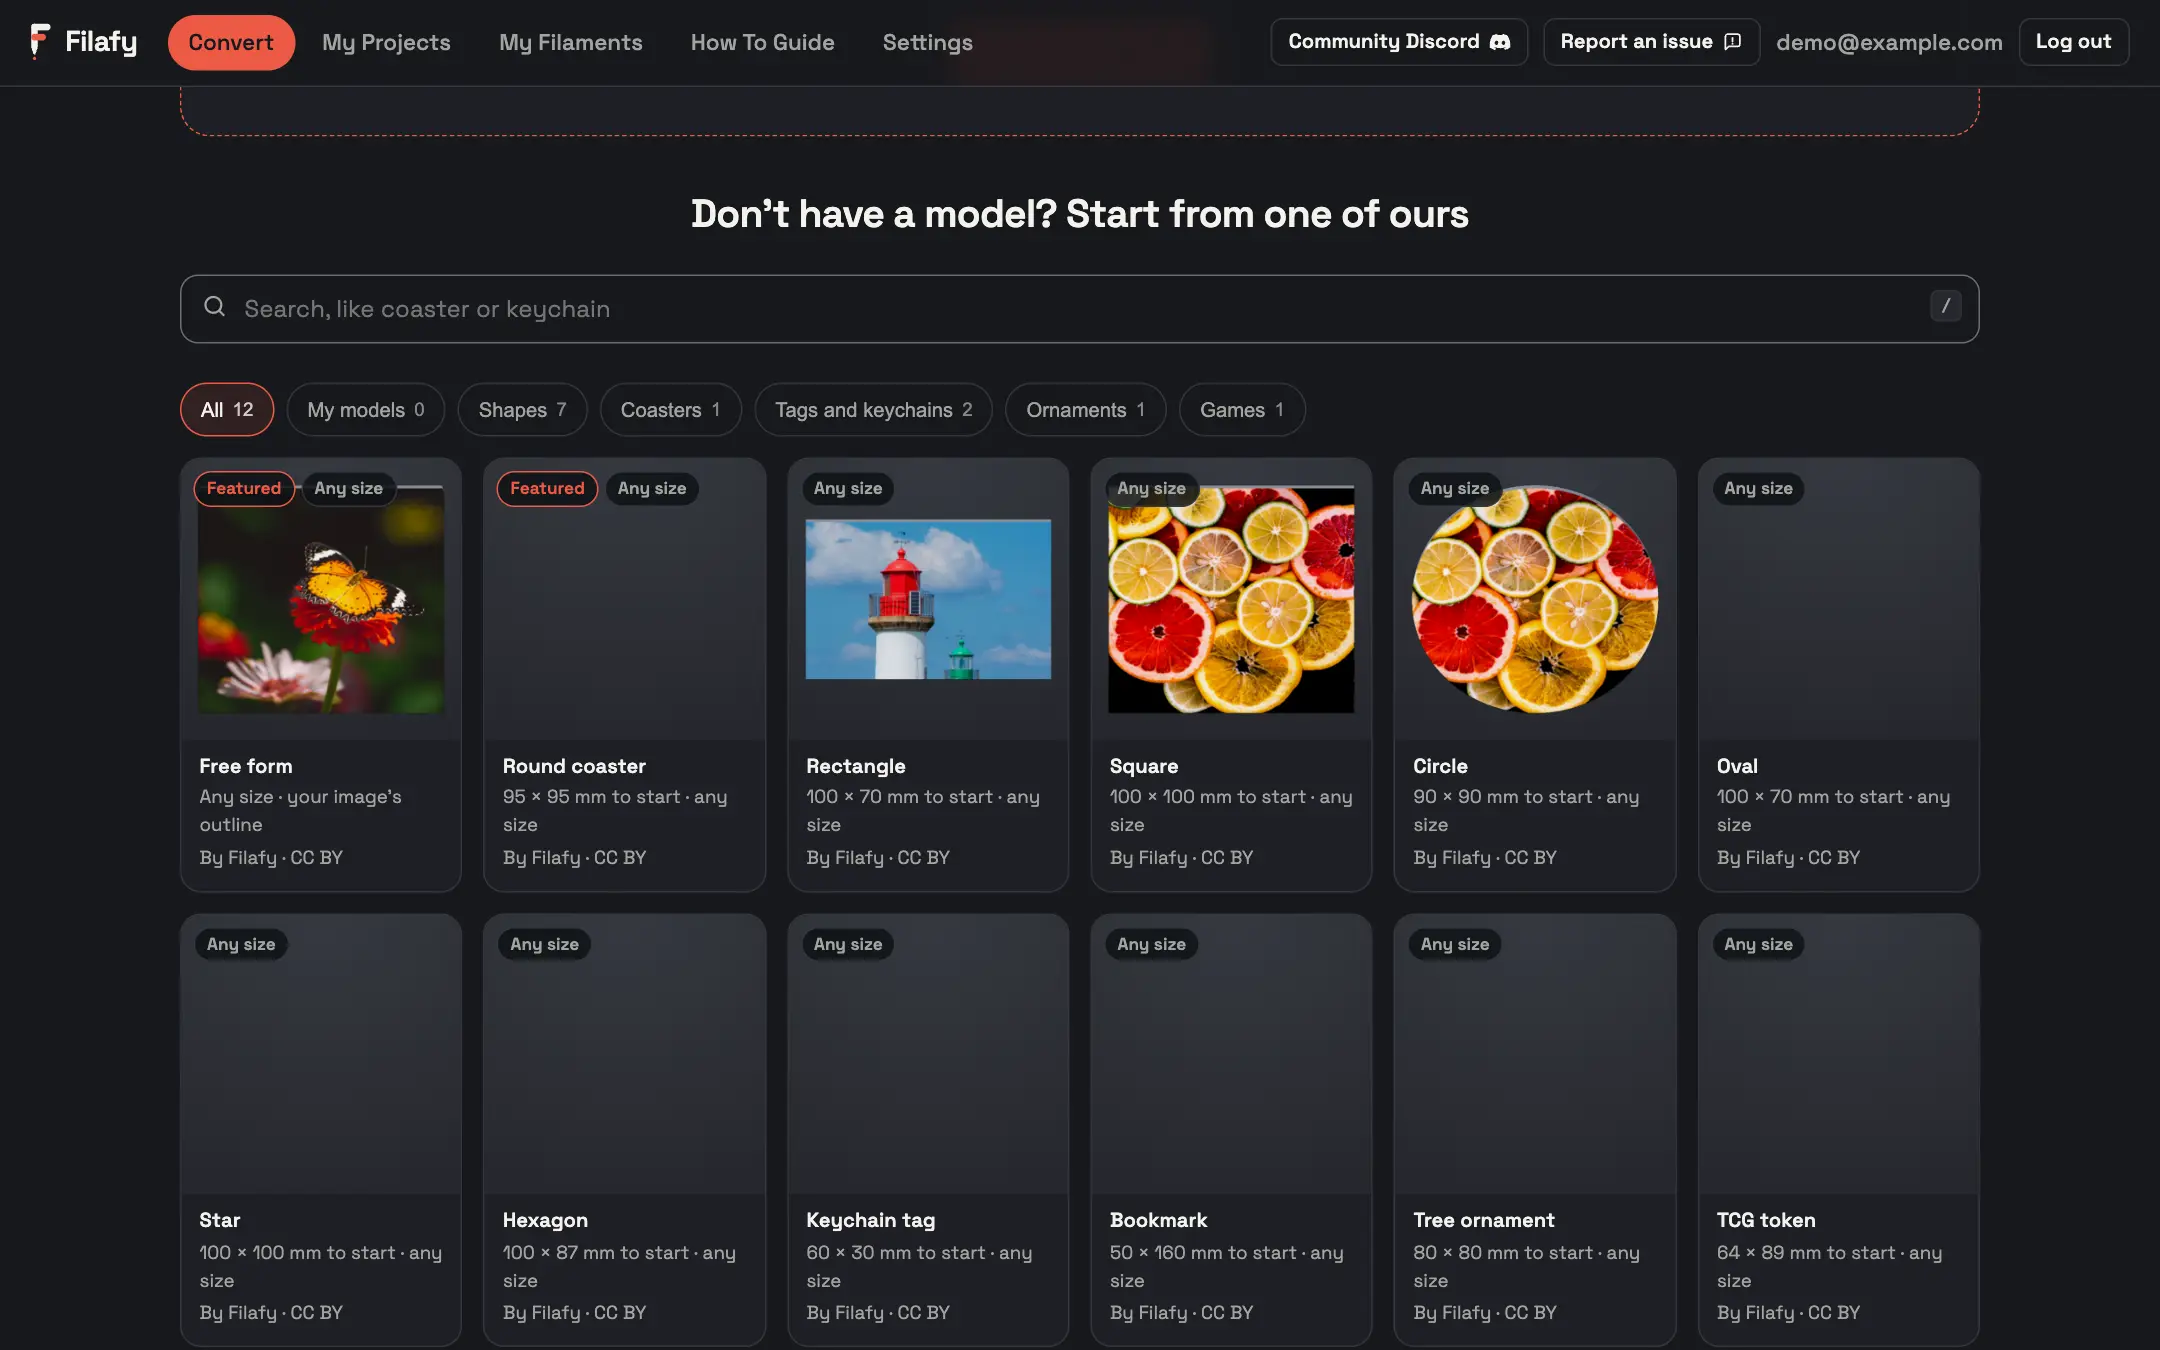 1
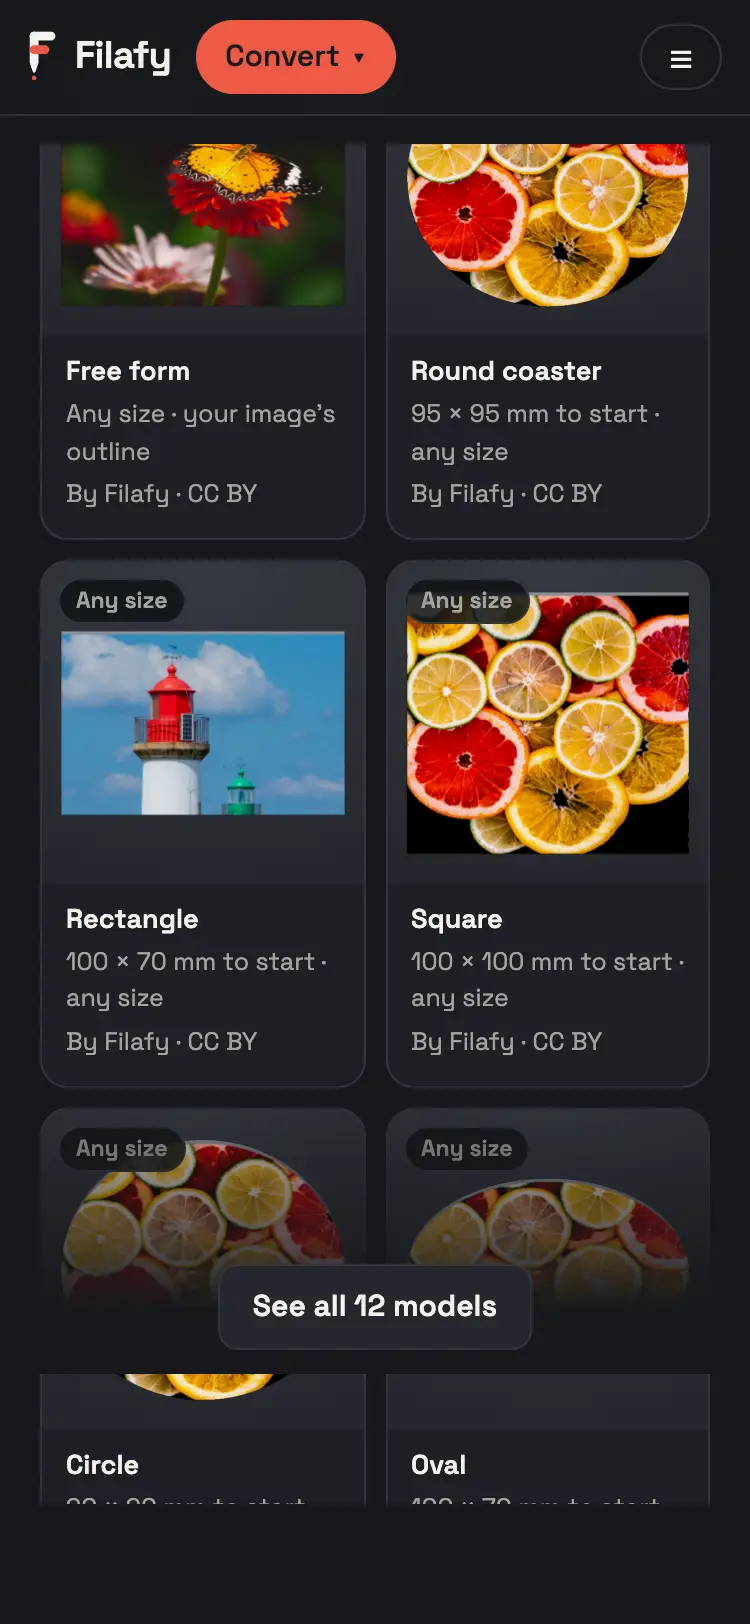 1
SetupCheck the size
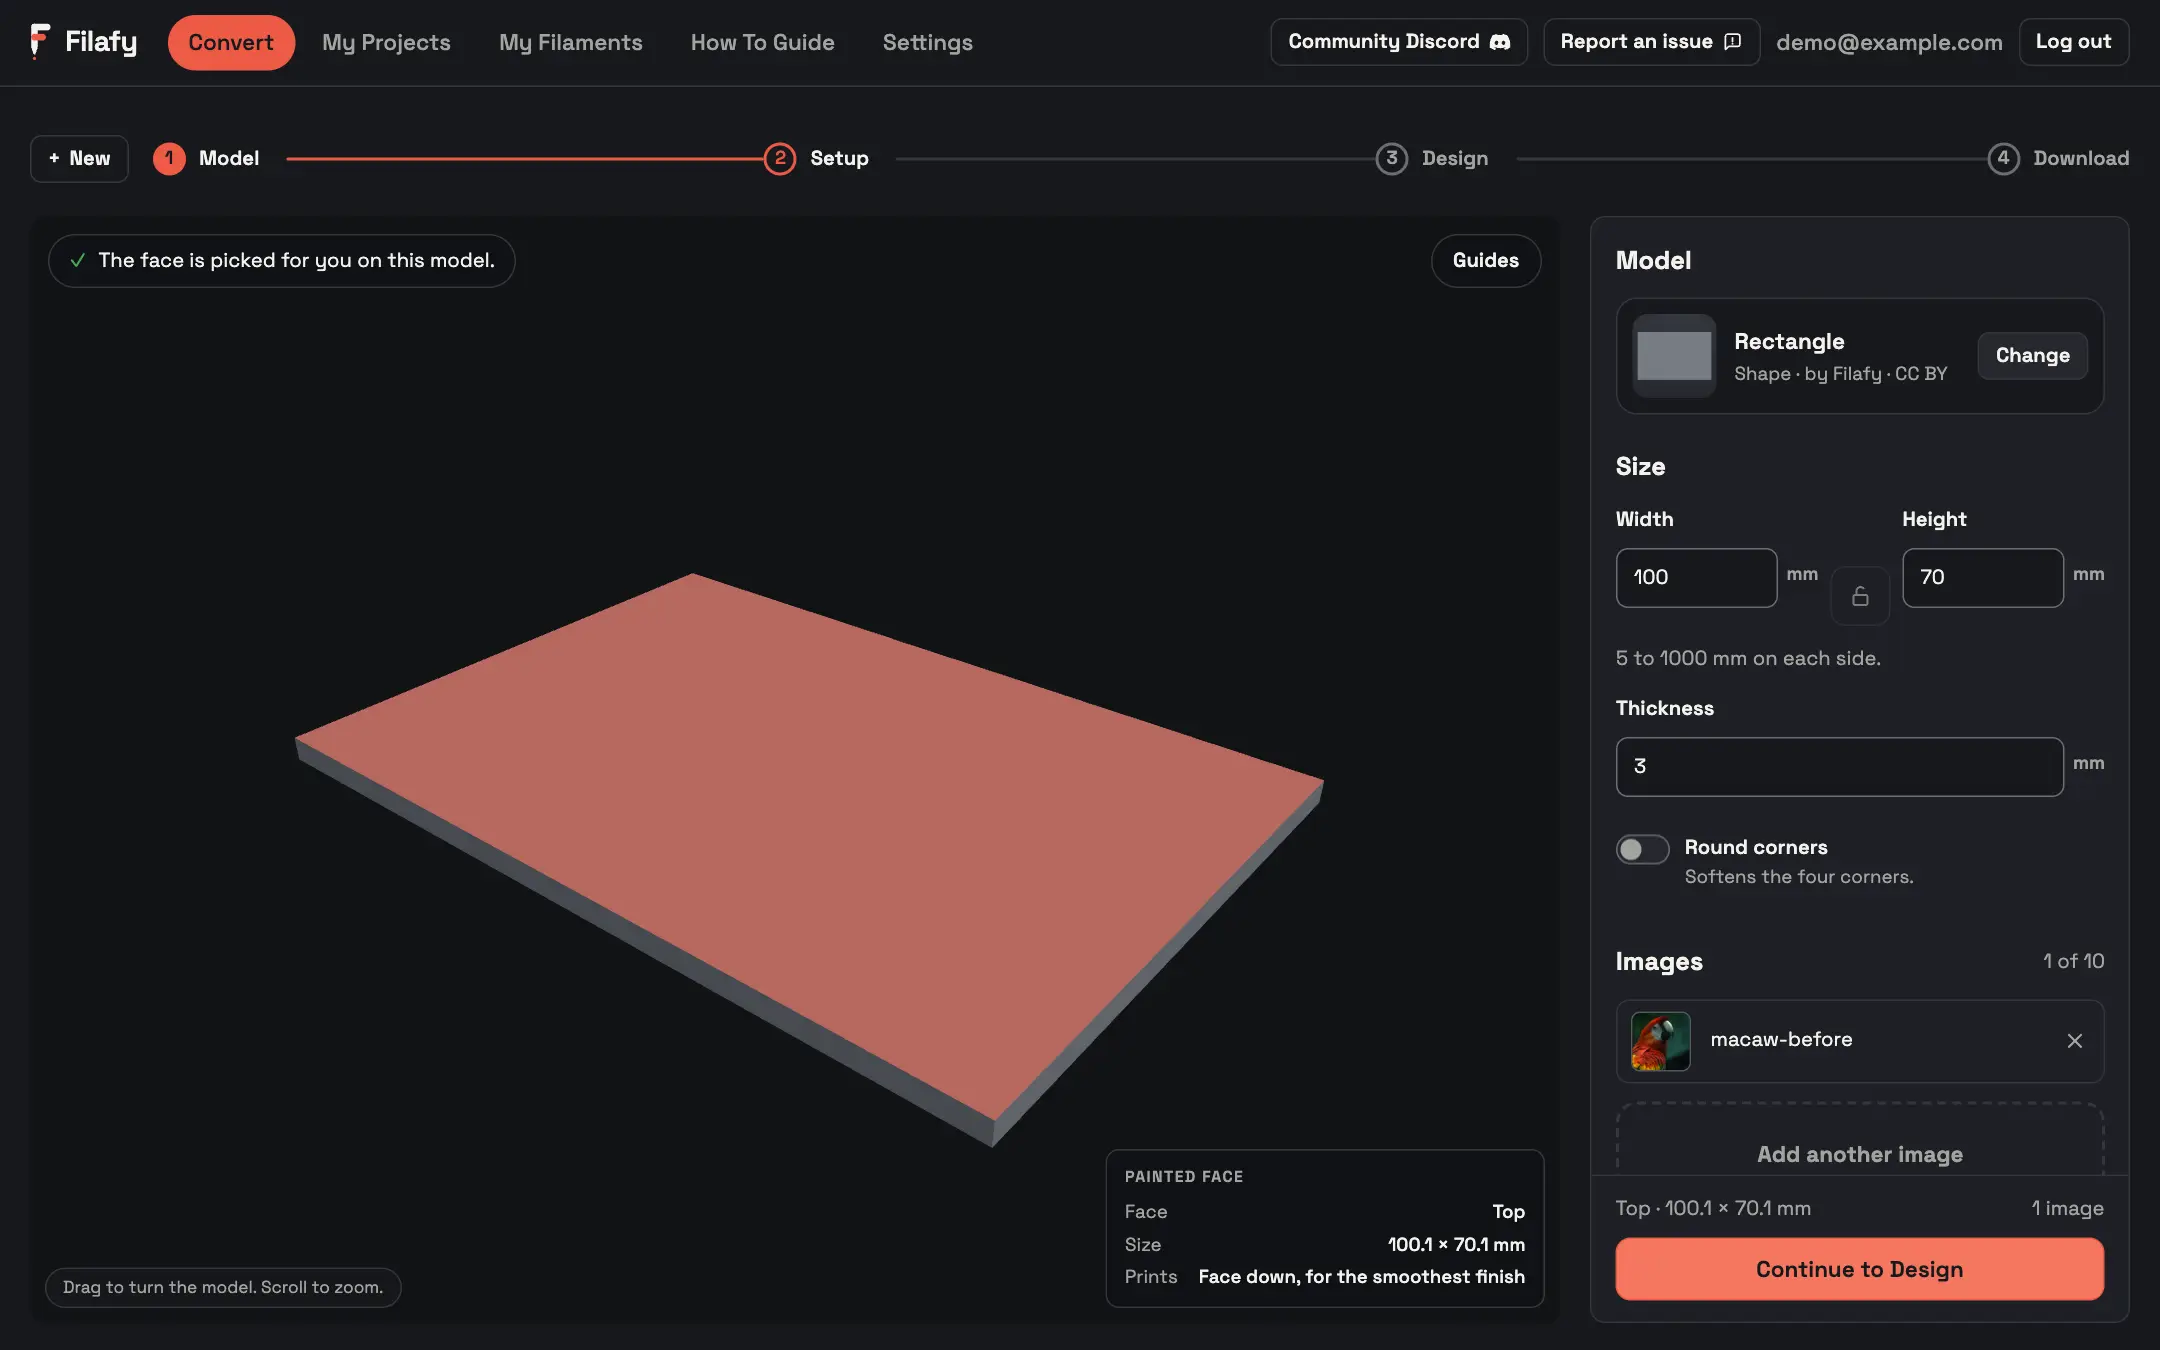
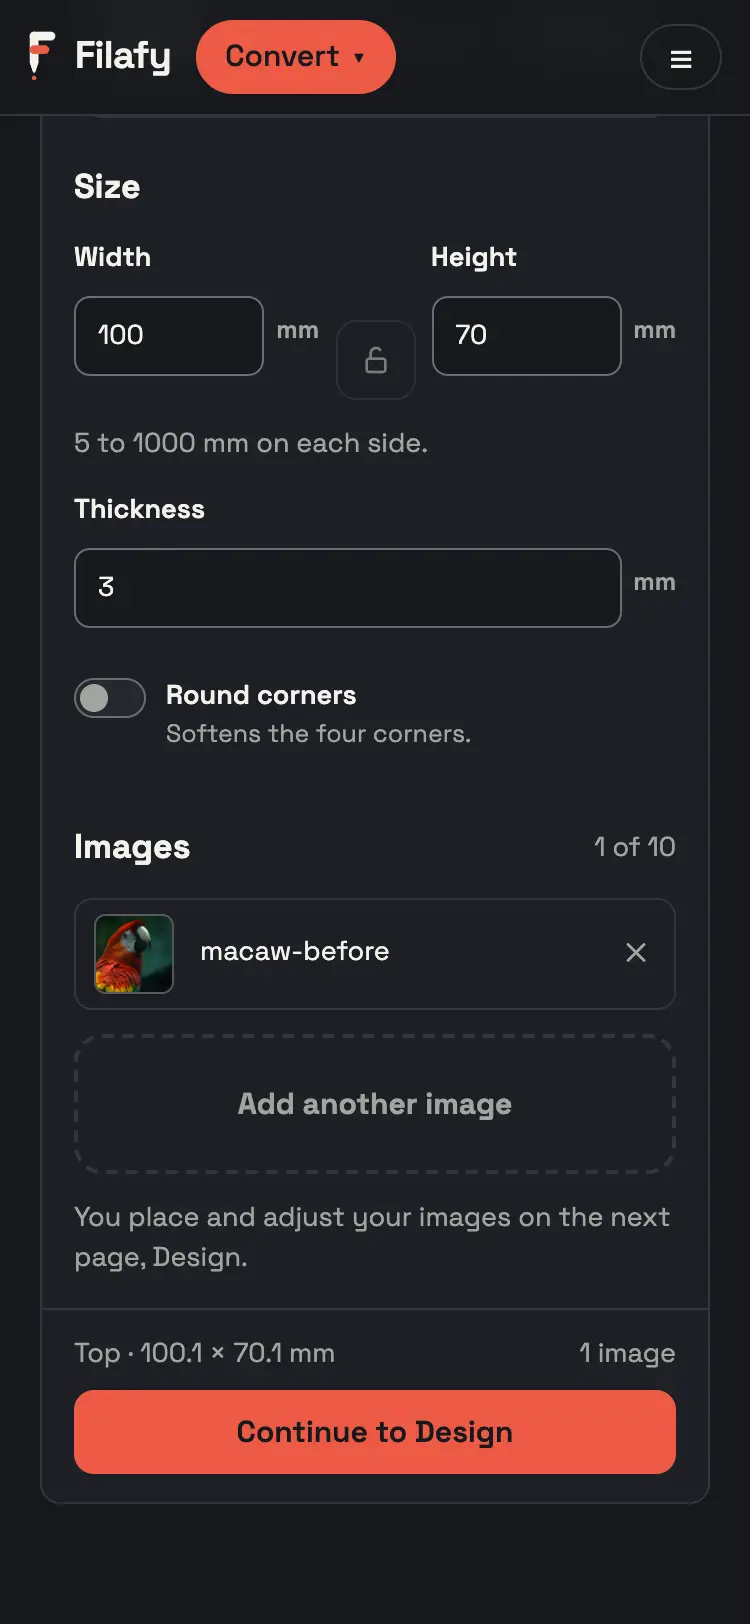
Type the width and height under Size.
On a rectangle, Round corners is under Size. Border and Hanging hole are on Design, and both are optional.
Why
A model marked Any size takes any size that fits your printer. A model file keeps its own size.
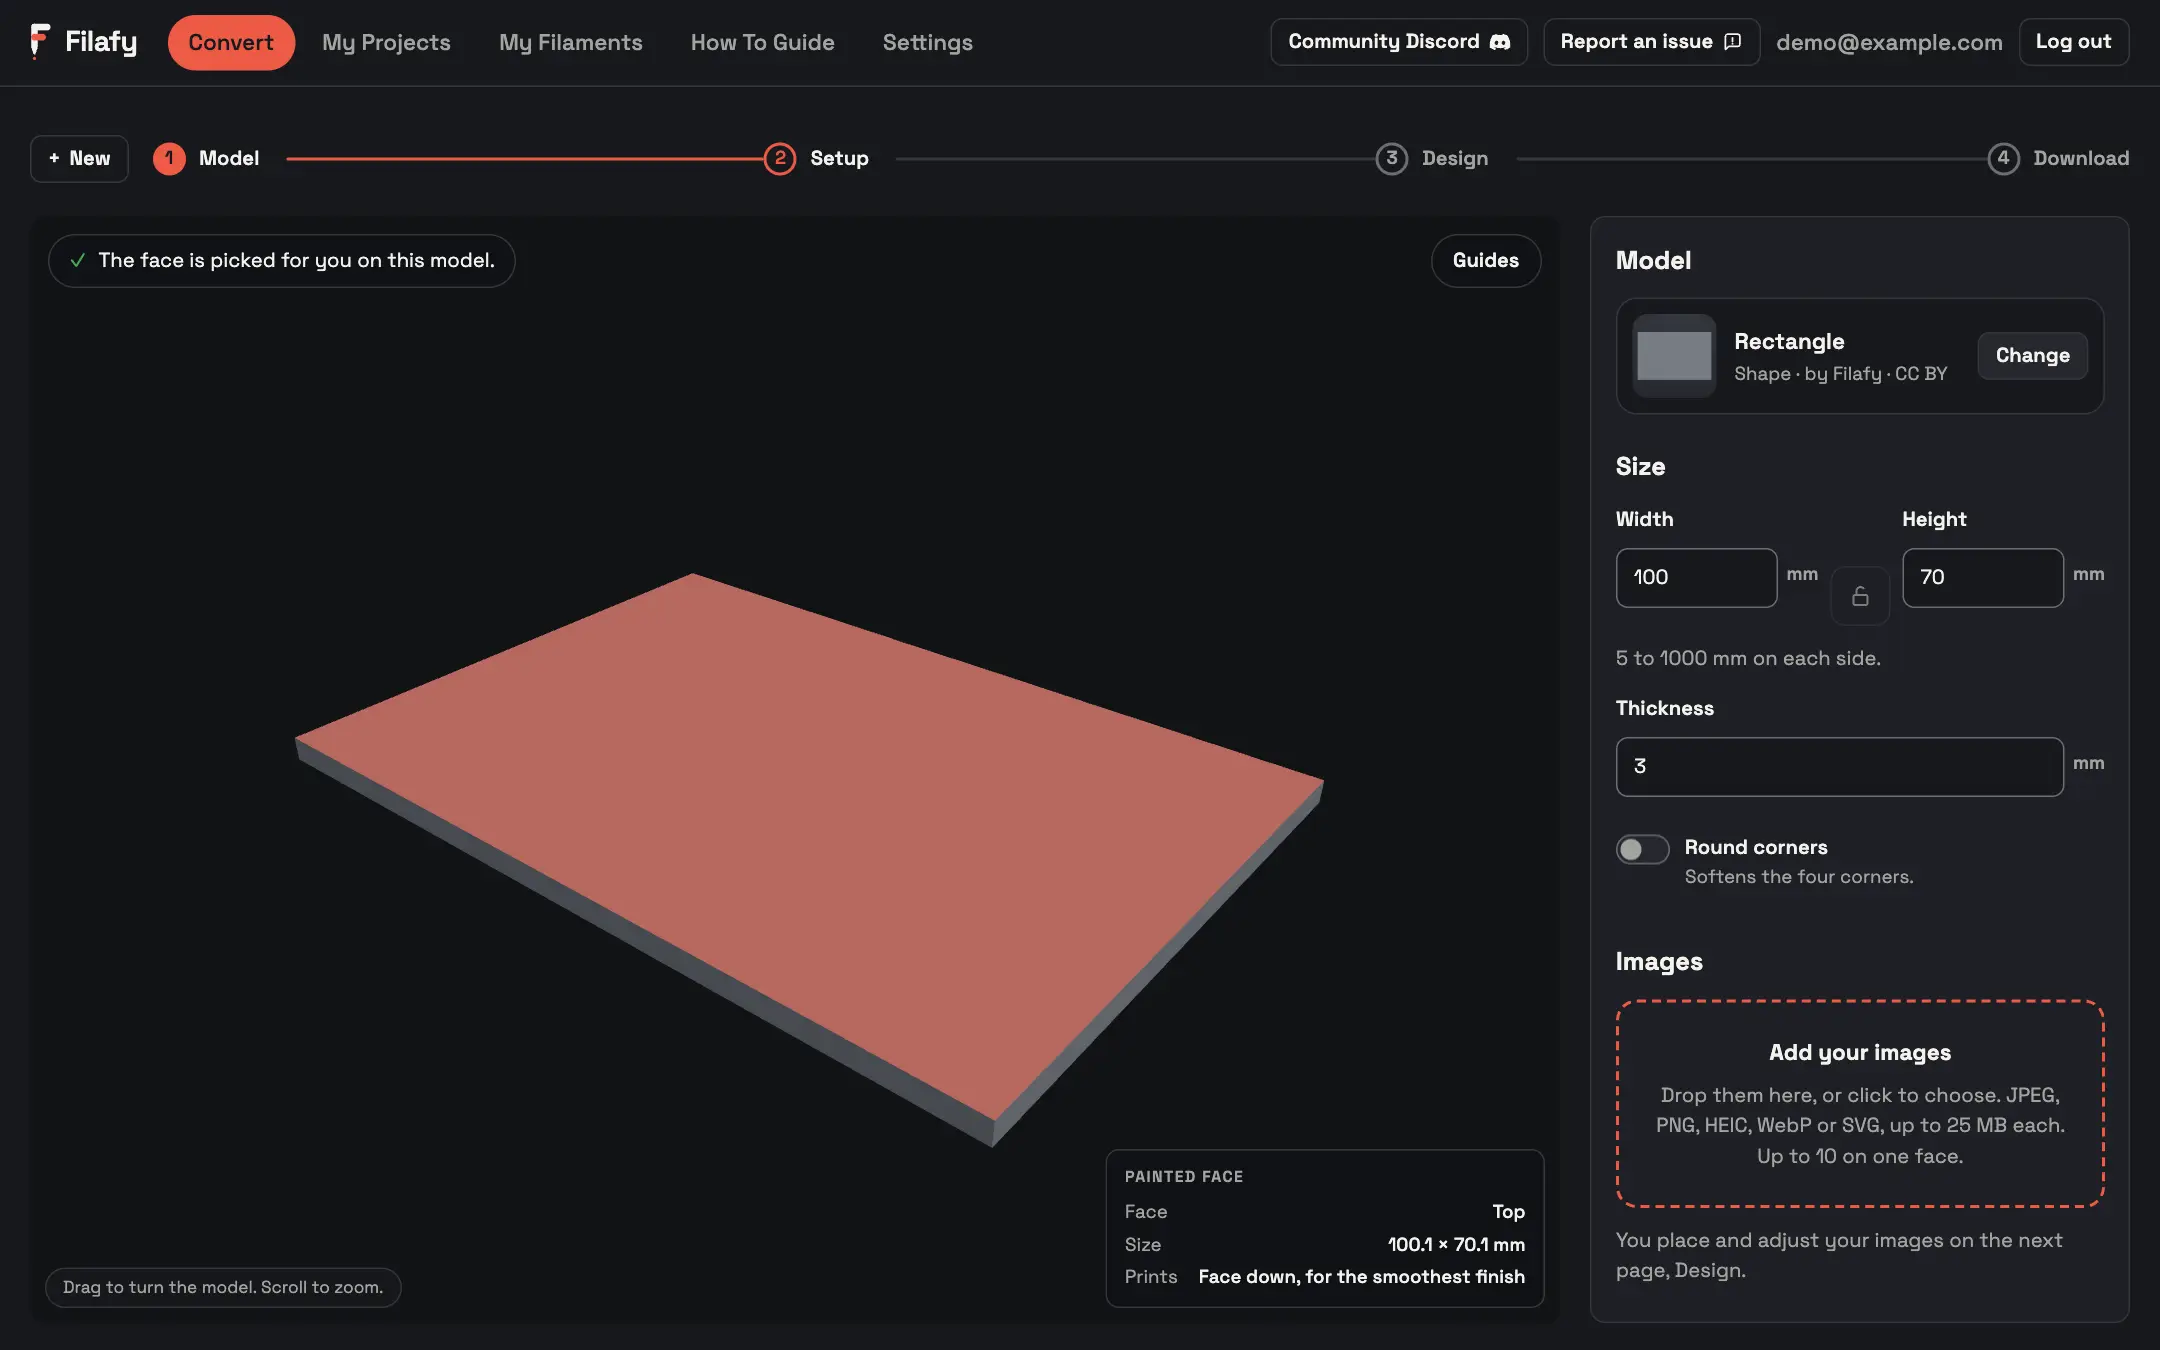 2
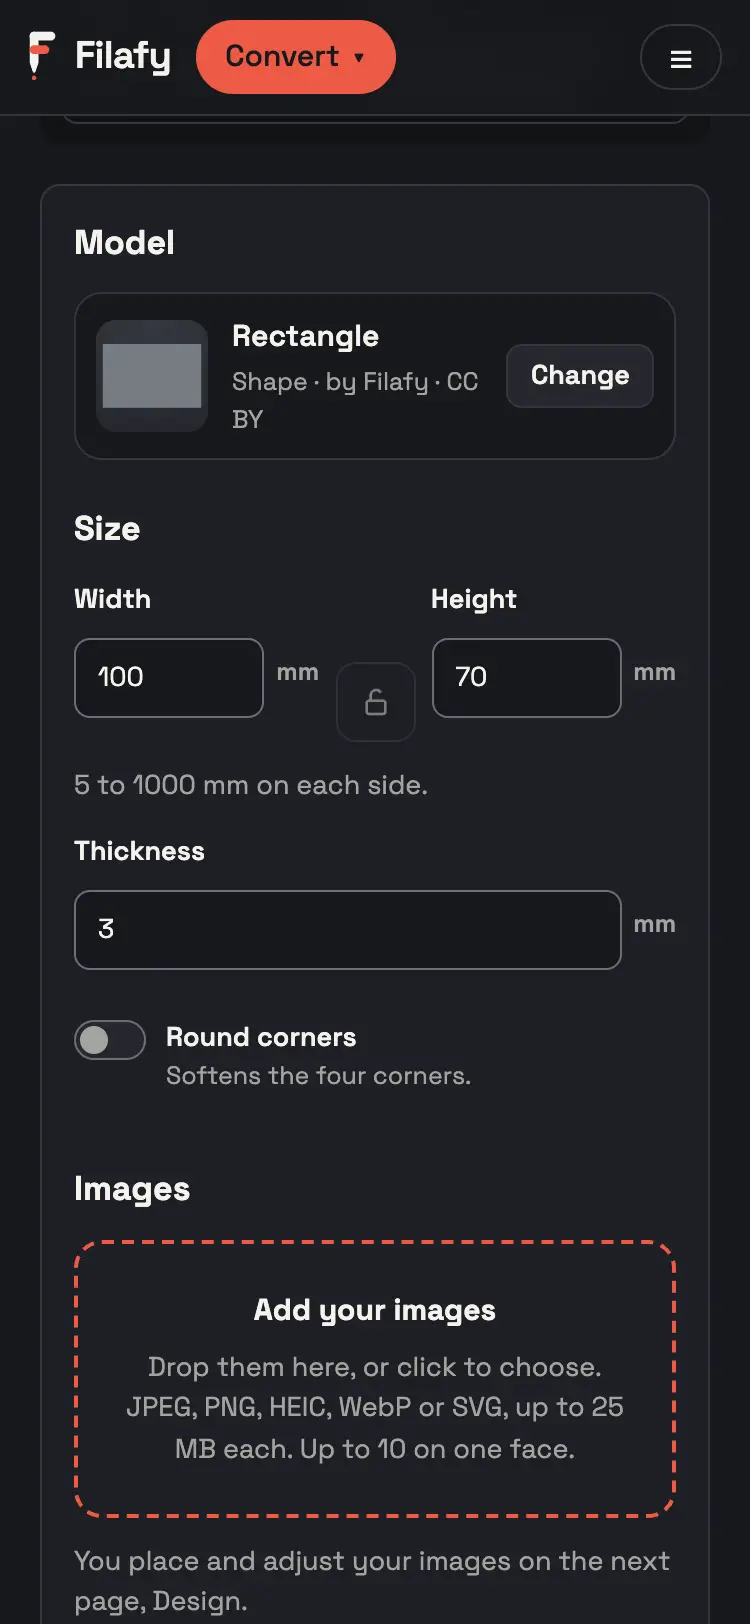 2
SetupAdd your image
Drop your image on Add your images. Then press Continue to Design.
JPEG, PNG, WebP, HEIC and SVG all work. You can add up to 10 images.
 3
 3
SetupPick your printer and spools
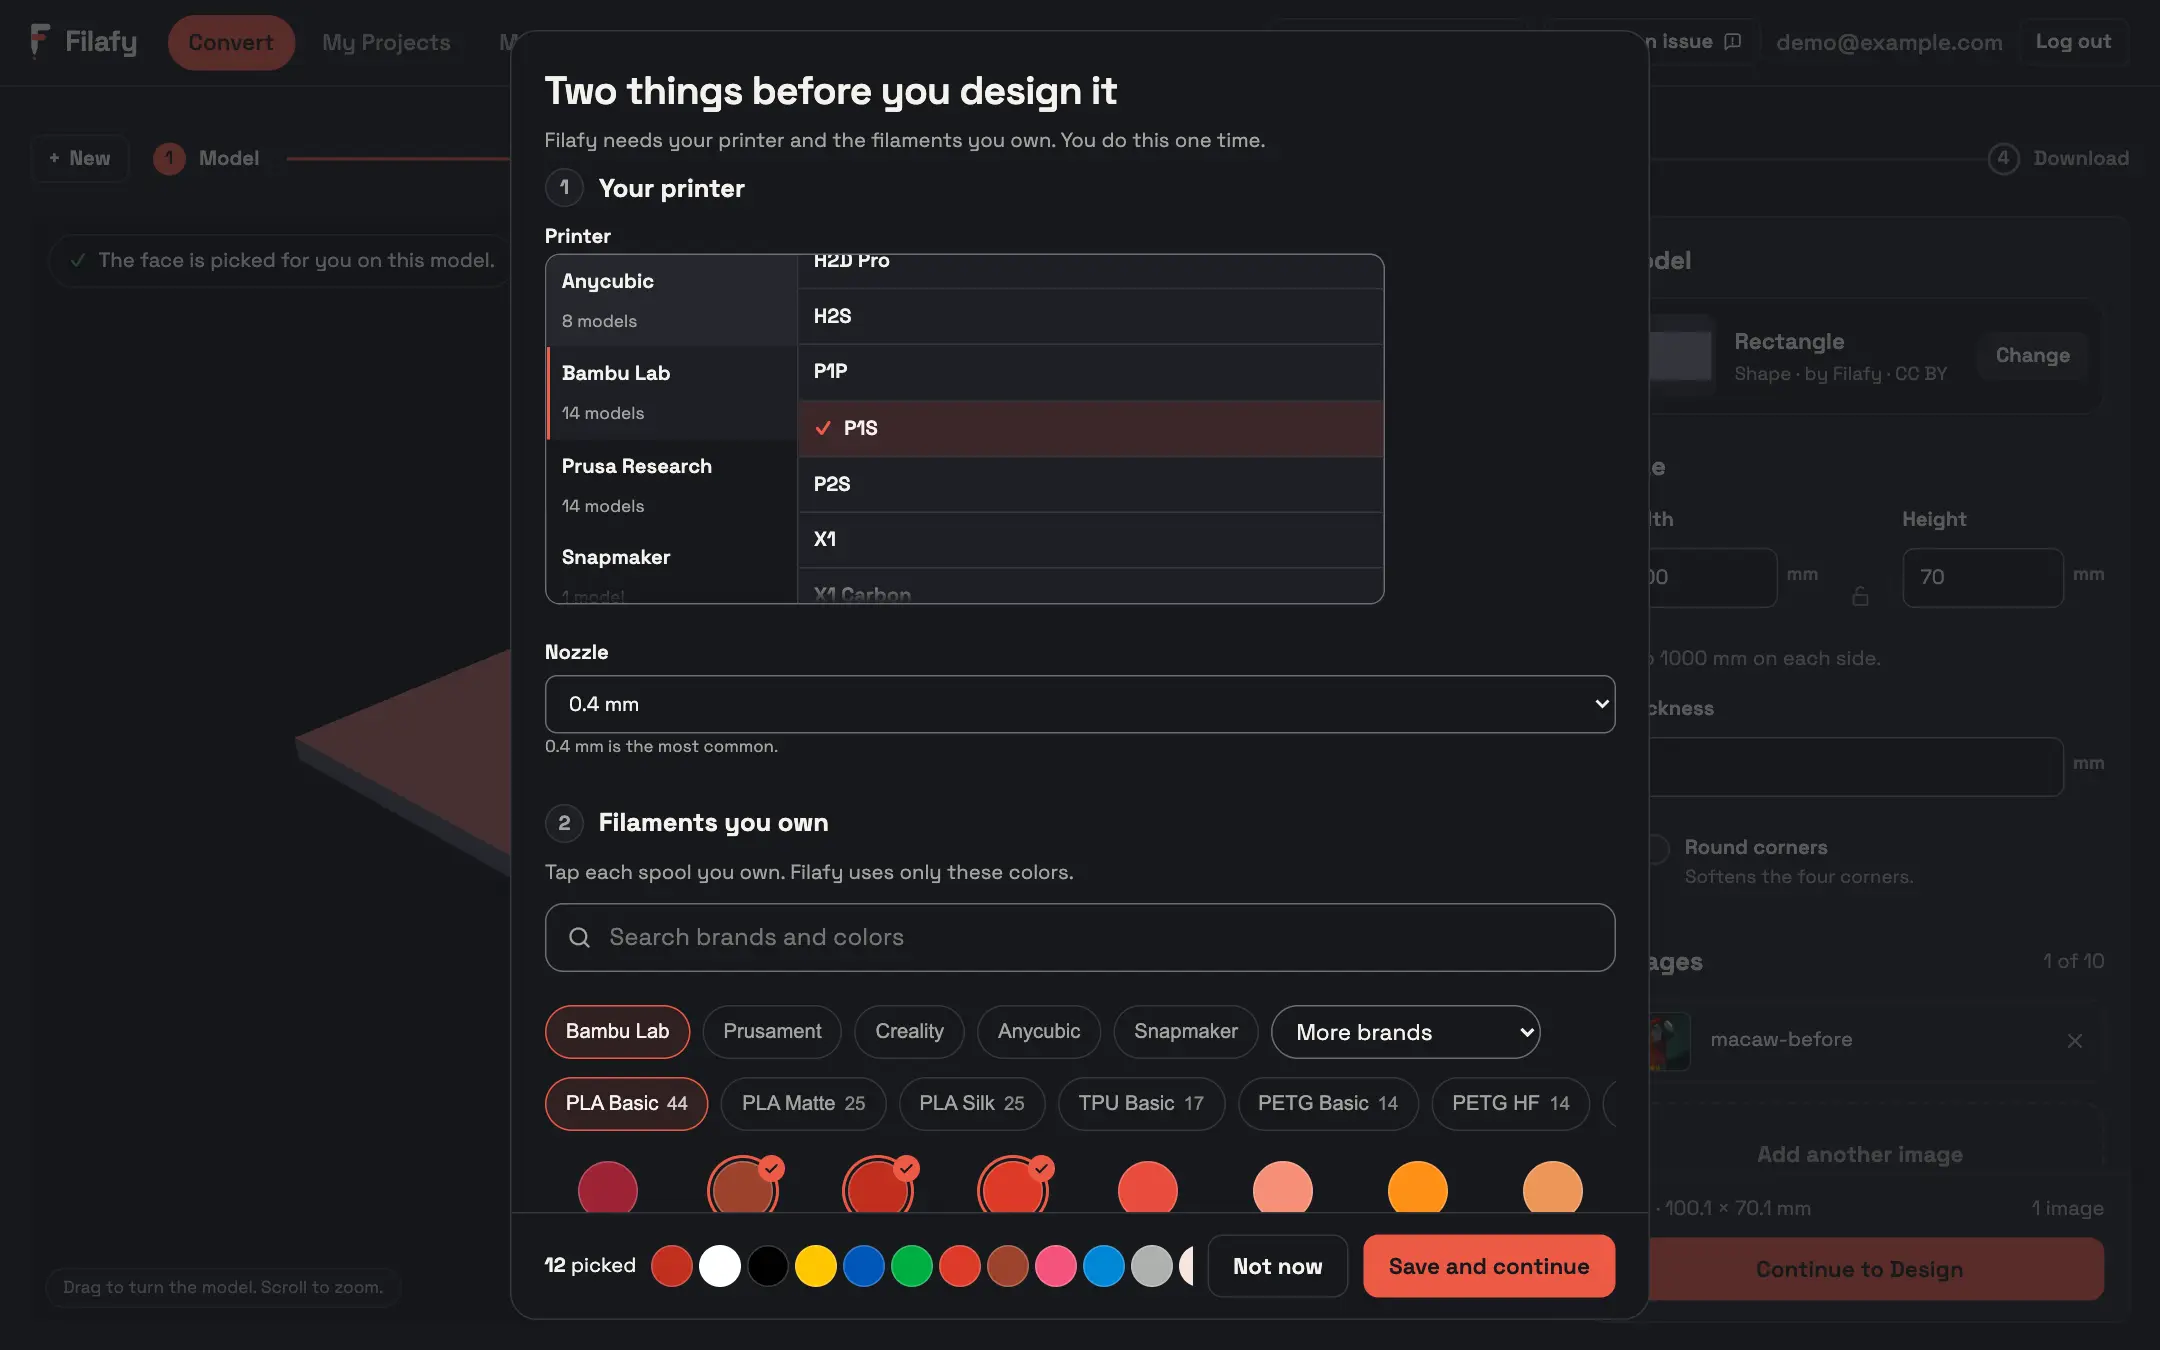
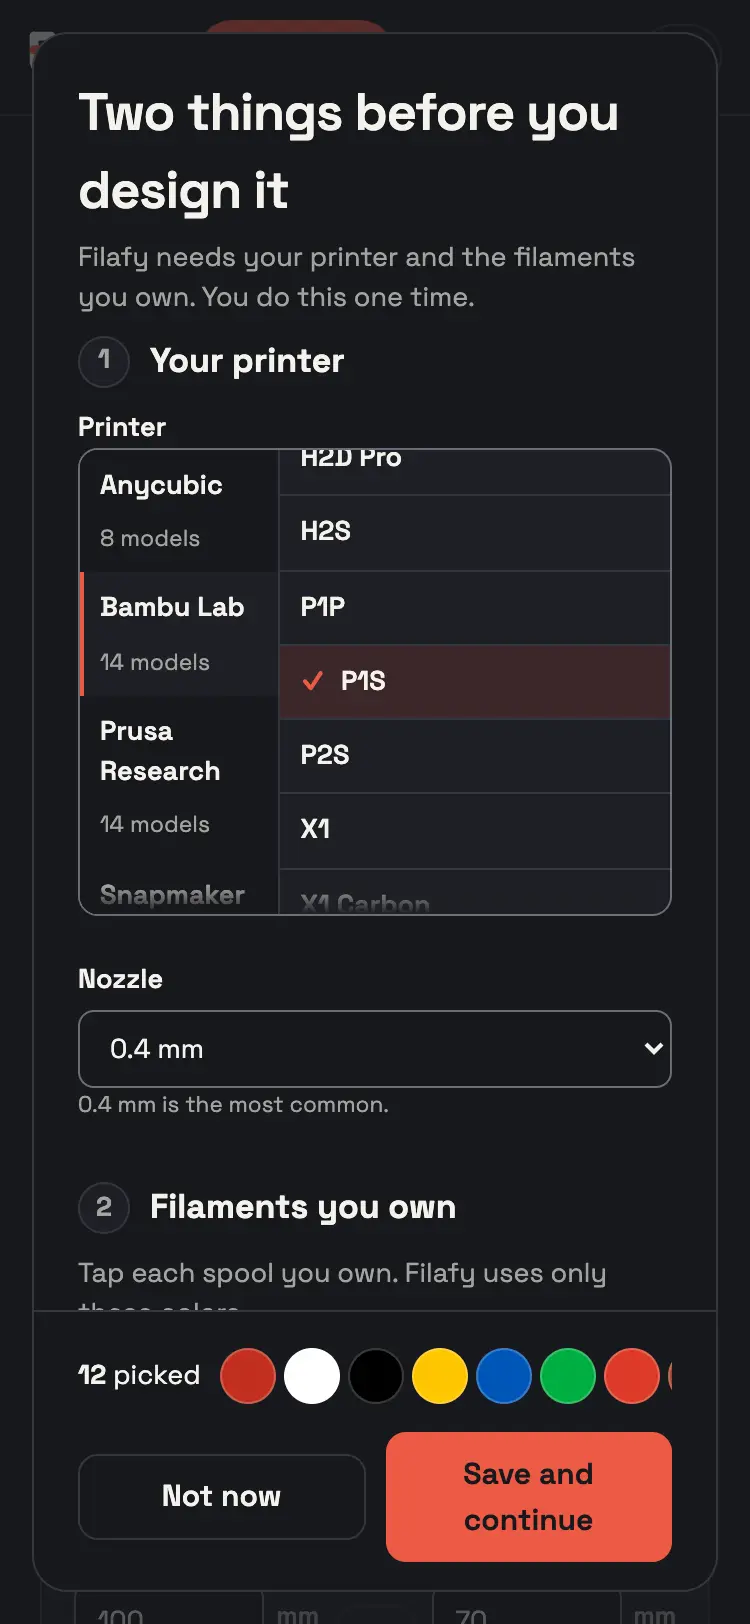
The first time, pick your printer. Then tap at least two spools that you own.
Not on the list? Pick Other. Everything still converts and exports.
Why
Filafy only uses colors you own, and it never adds one for you. You do this one time.
 4
 4
DesignPick a style
Open the Style tab. Pick a style.
Why
The preview changes as you choose. Previews are free and never use a credit.

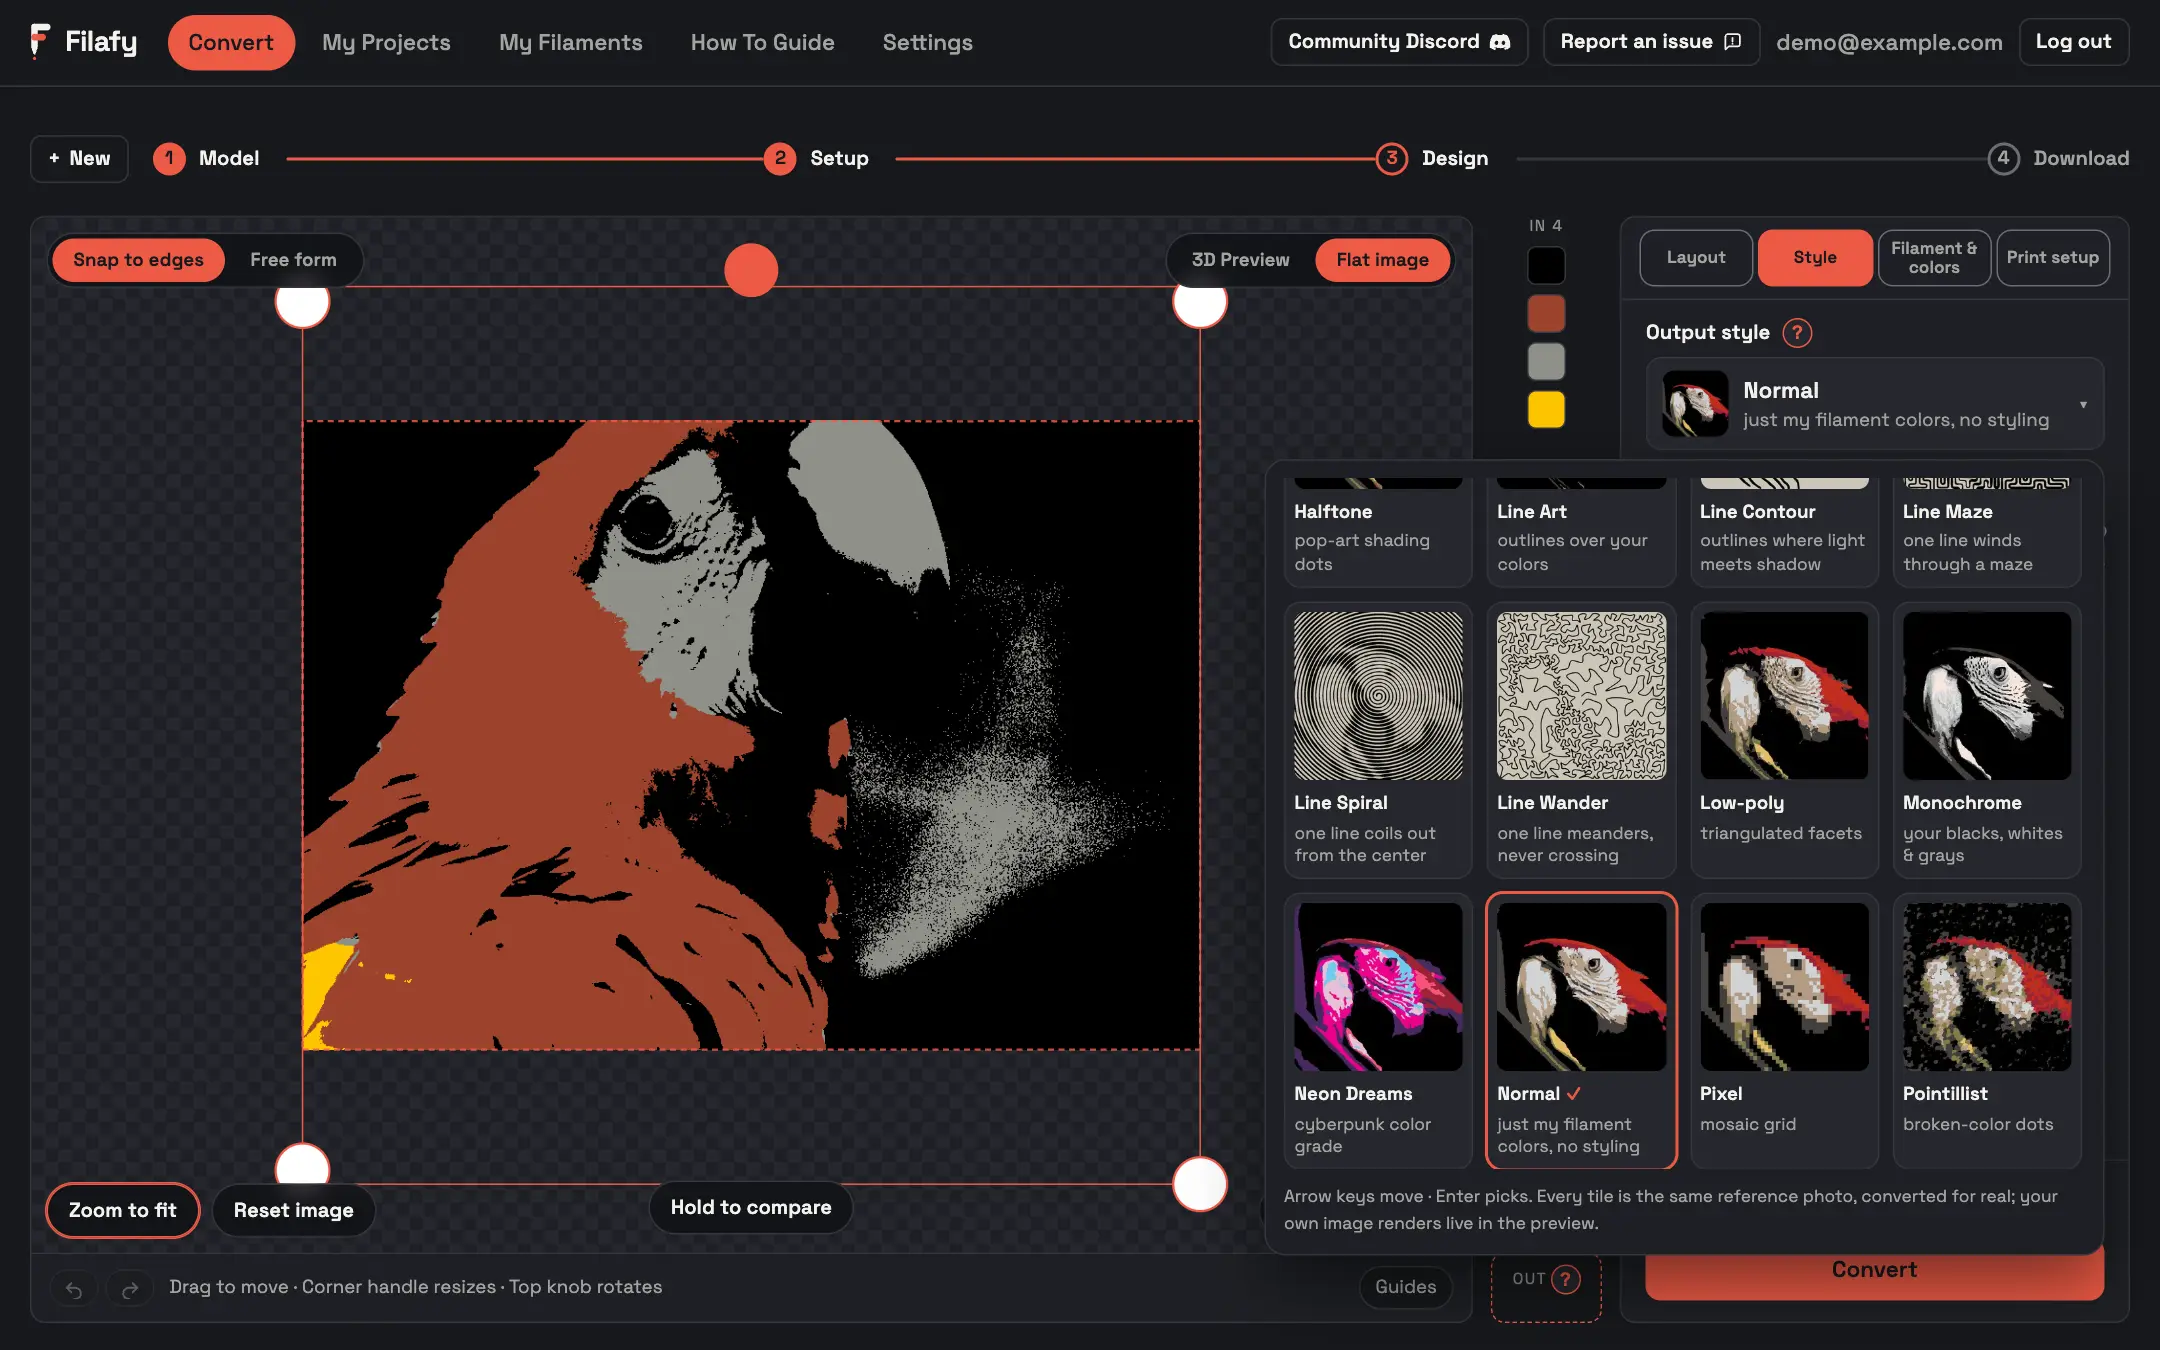 5
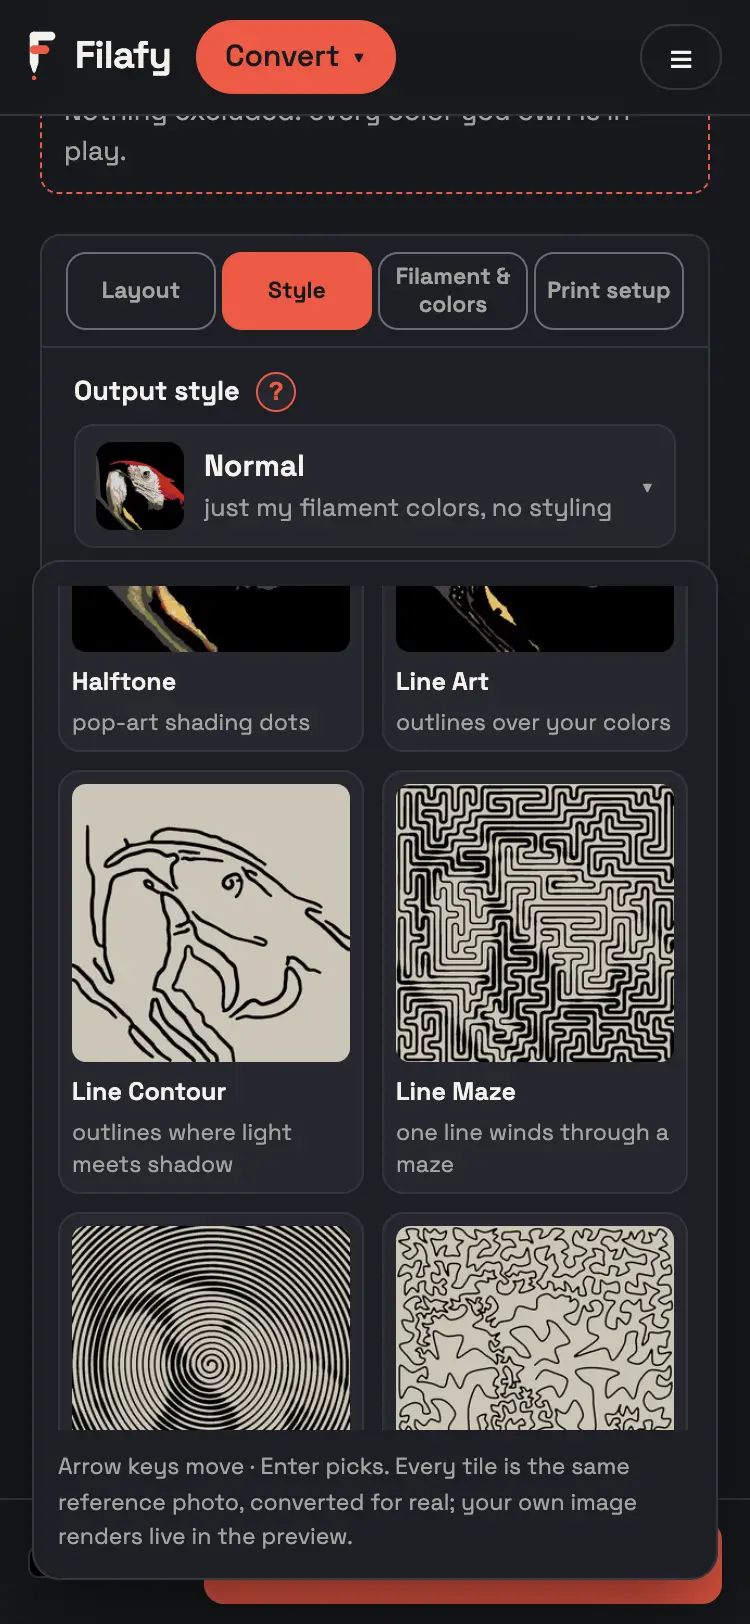 5
DesignChoose how many colors
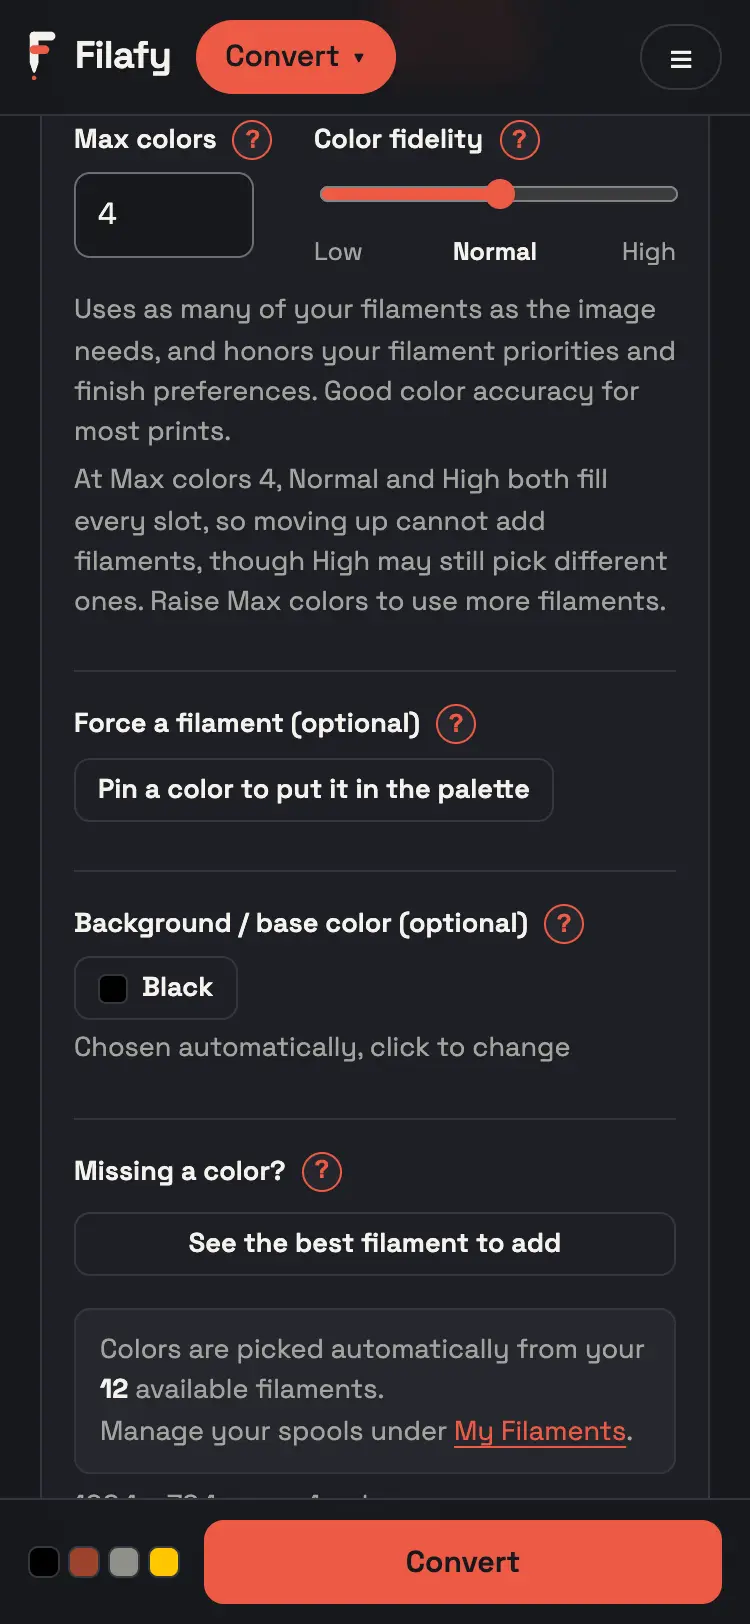
Open Filament & colors. Set Max colors to the most spools you want to load.
Why
More colors can match your image more closely. Past a point, Filafy stops adding colors that would not help.
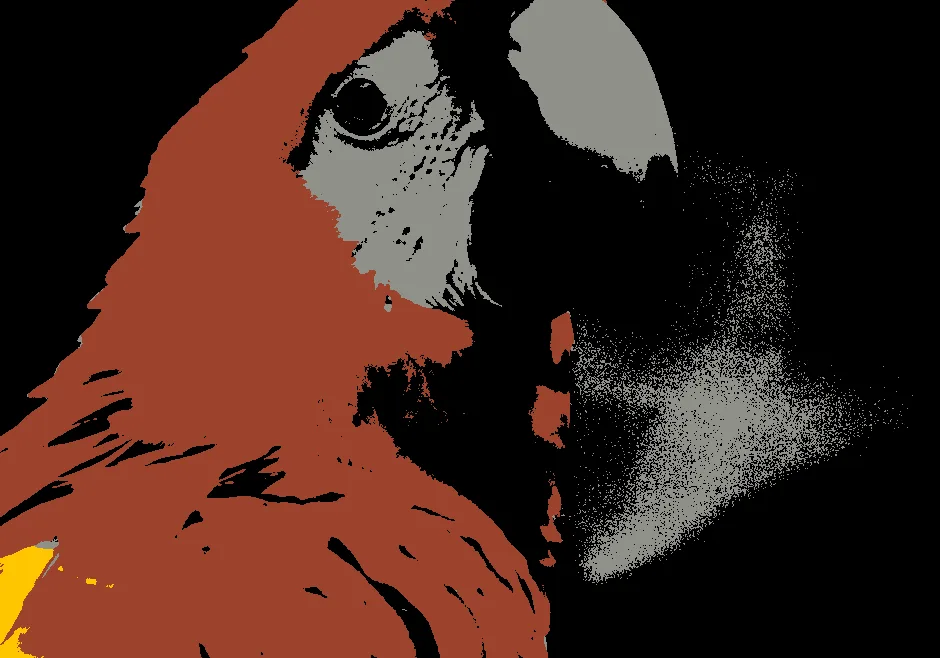
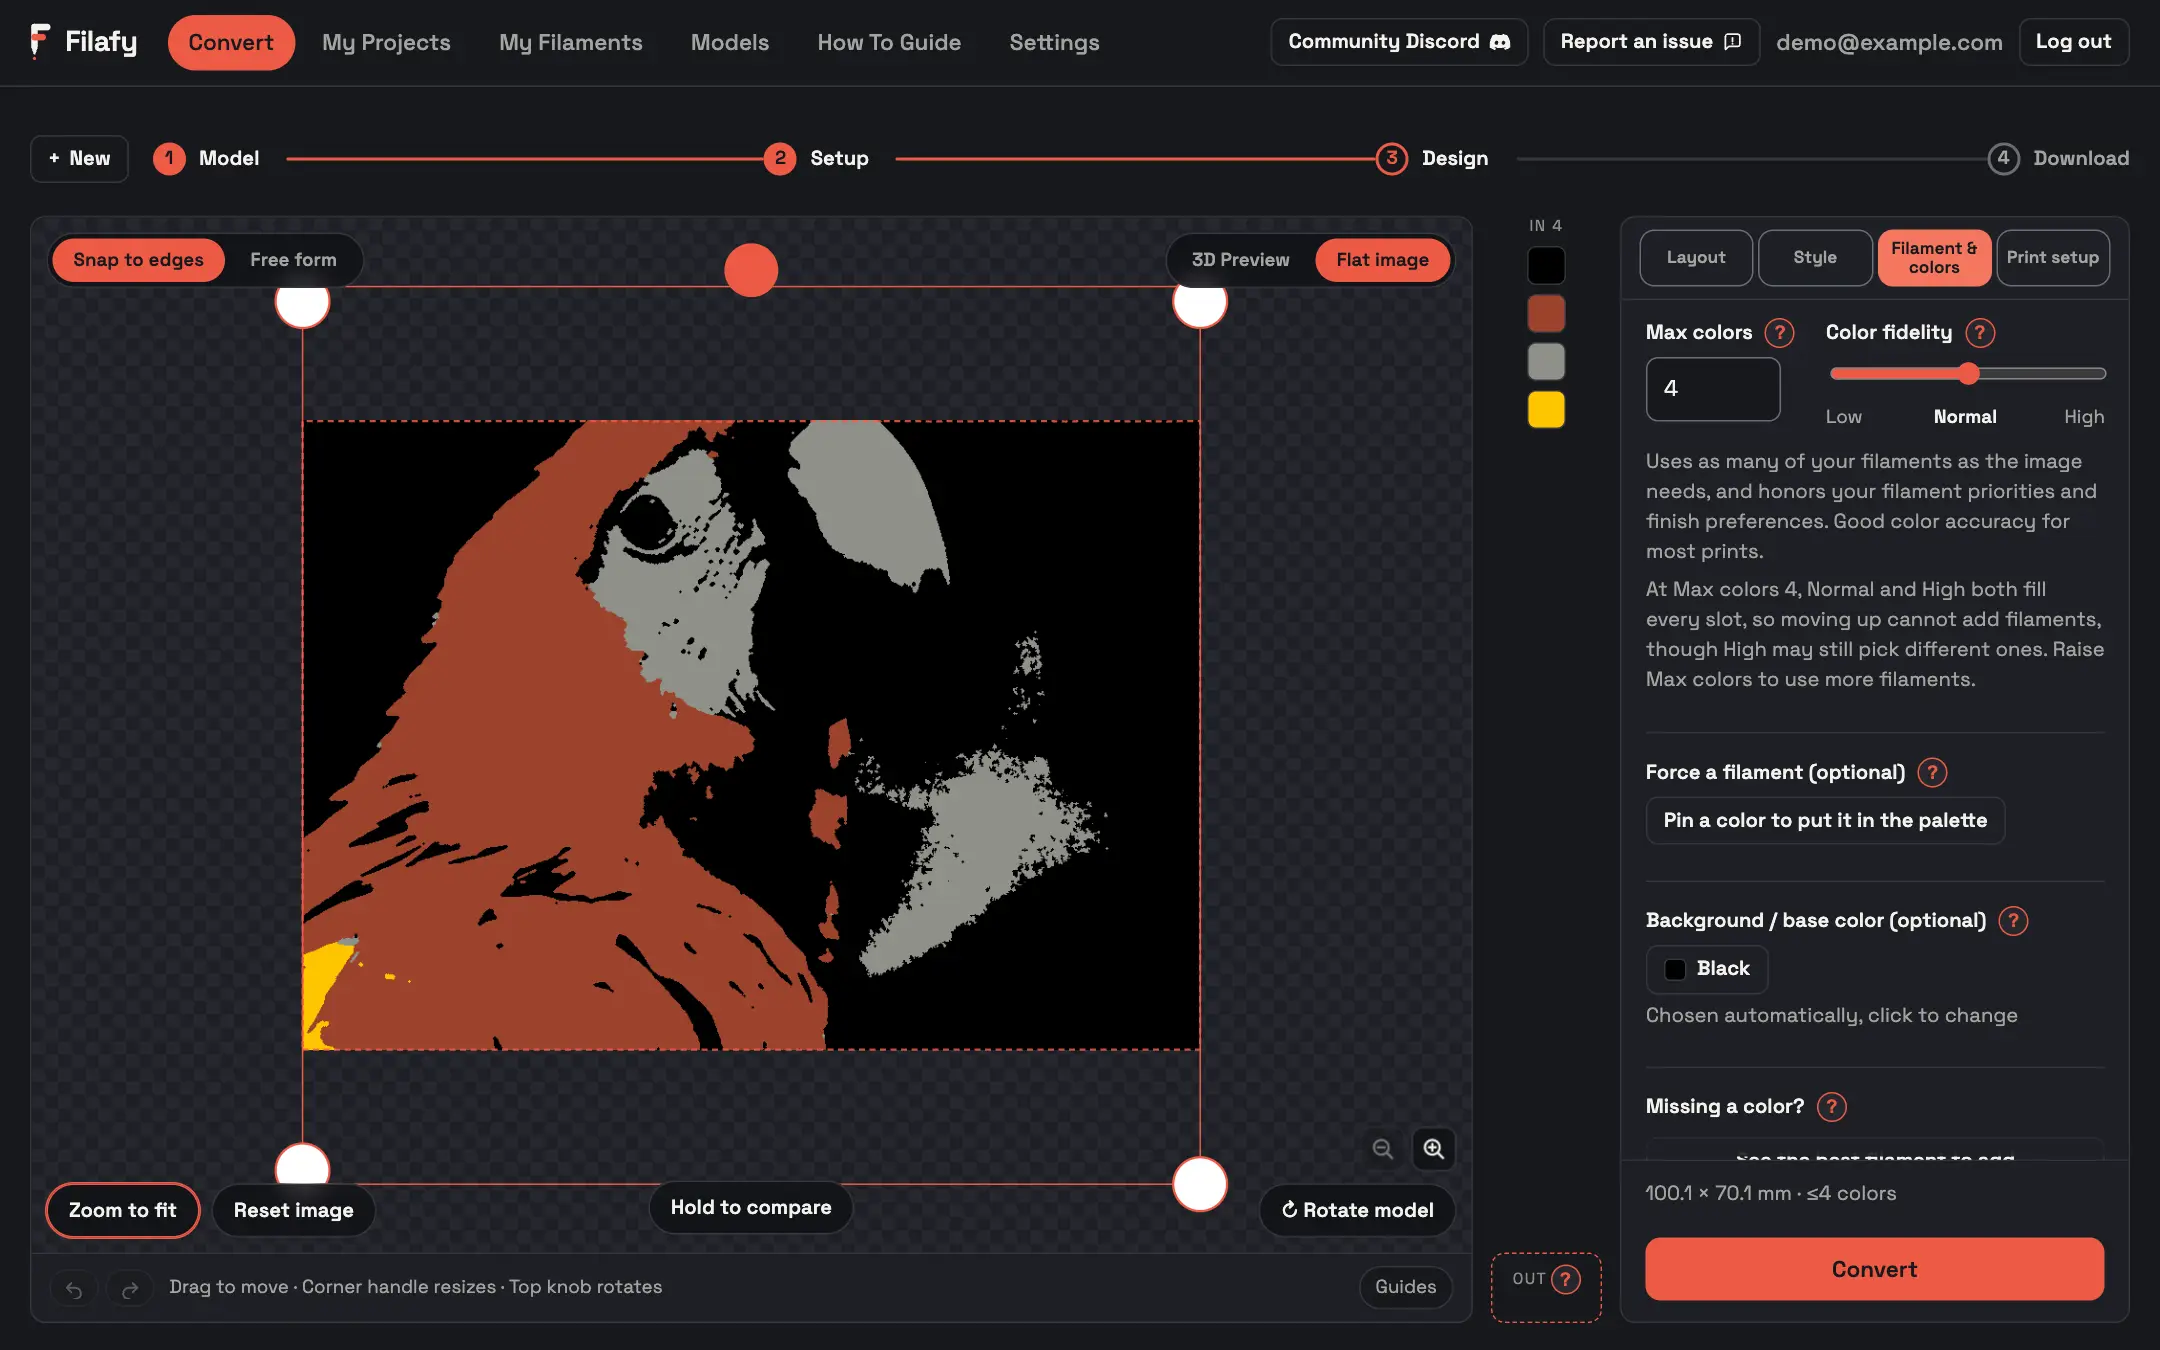 6
 6
DesignConvert
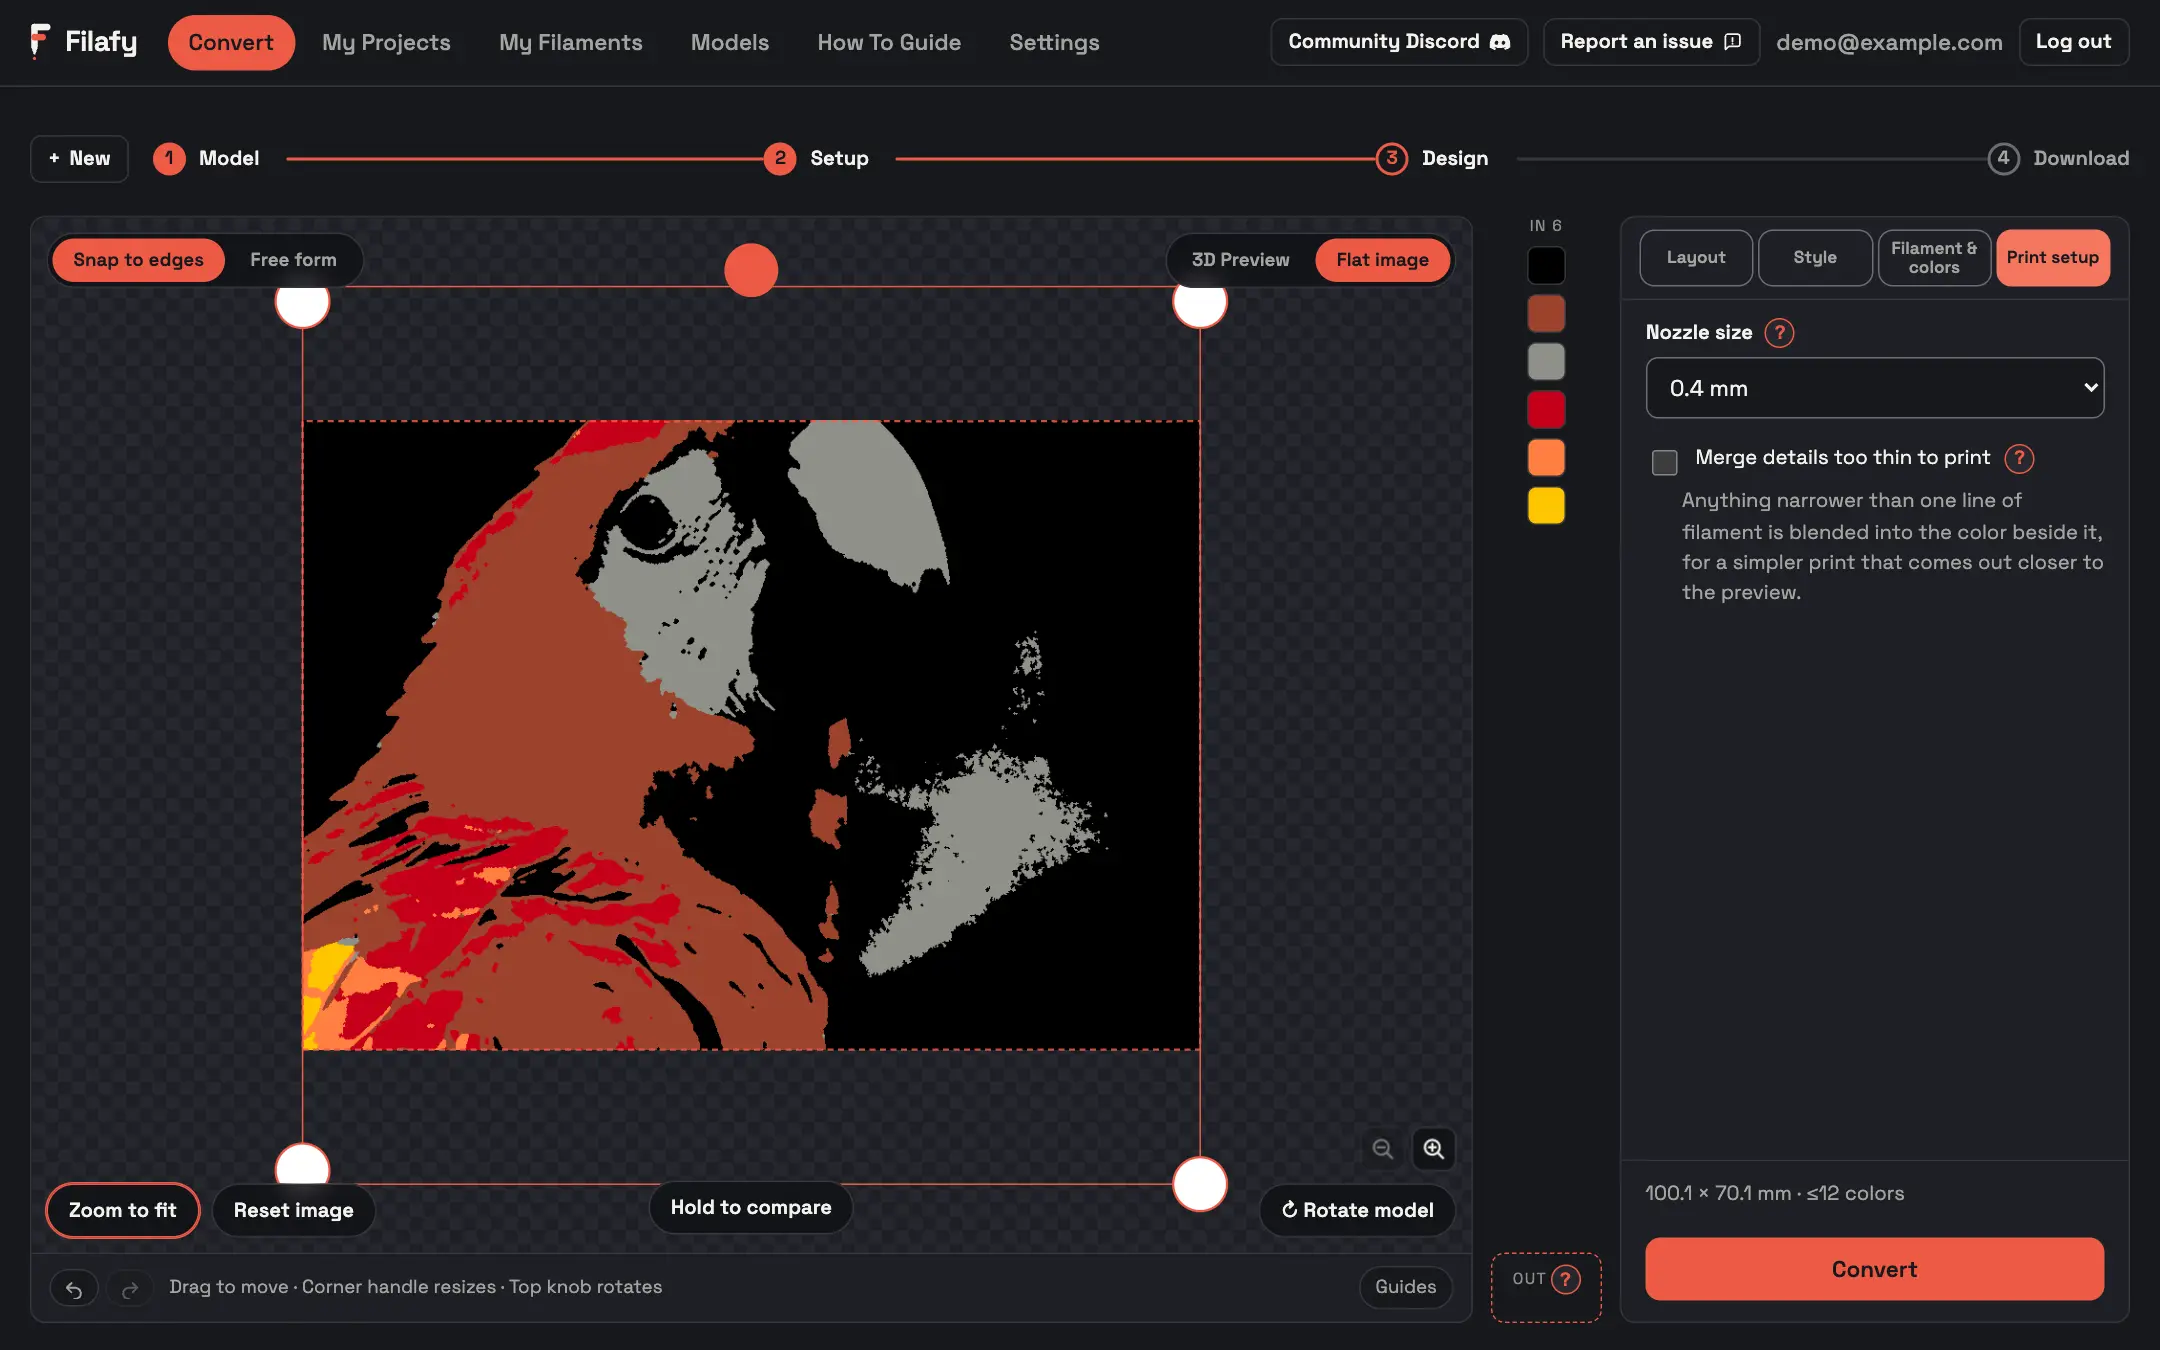
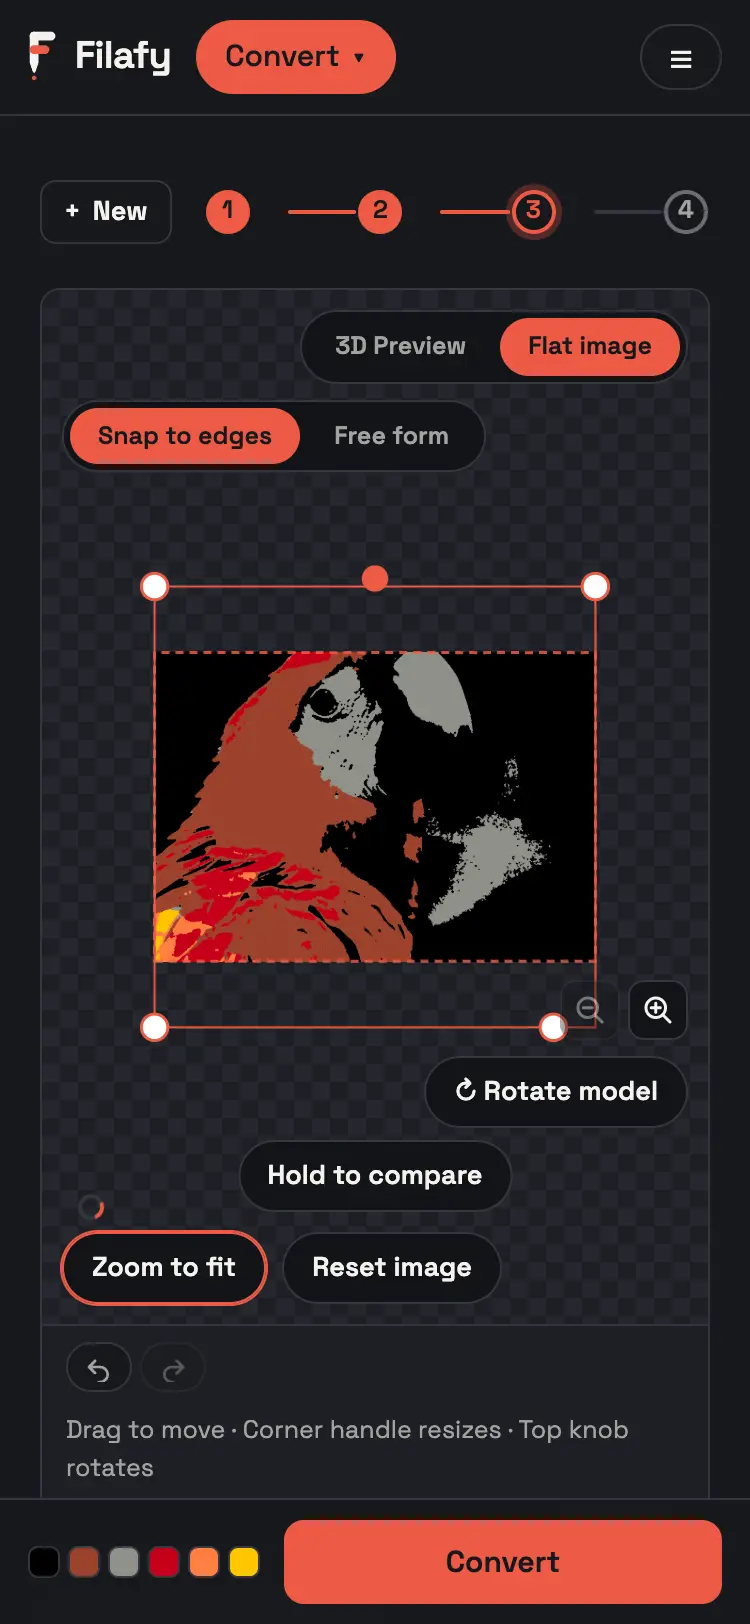
Press Convert.
Why
A conversion uses one credit. A failed or canceled one costs nothing. Every conversion is saved to My Projects for 30 days.
 7
 7
DownloadLoad the spools and download
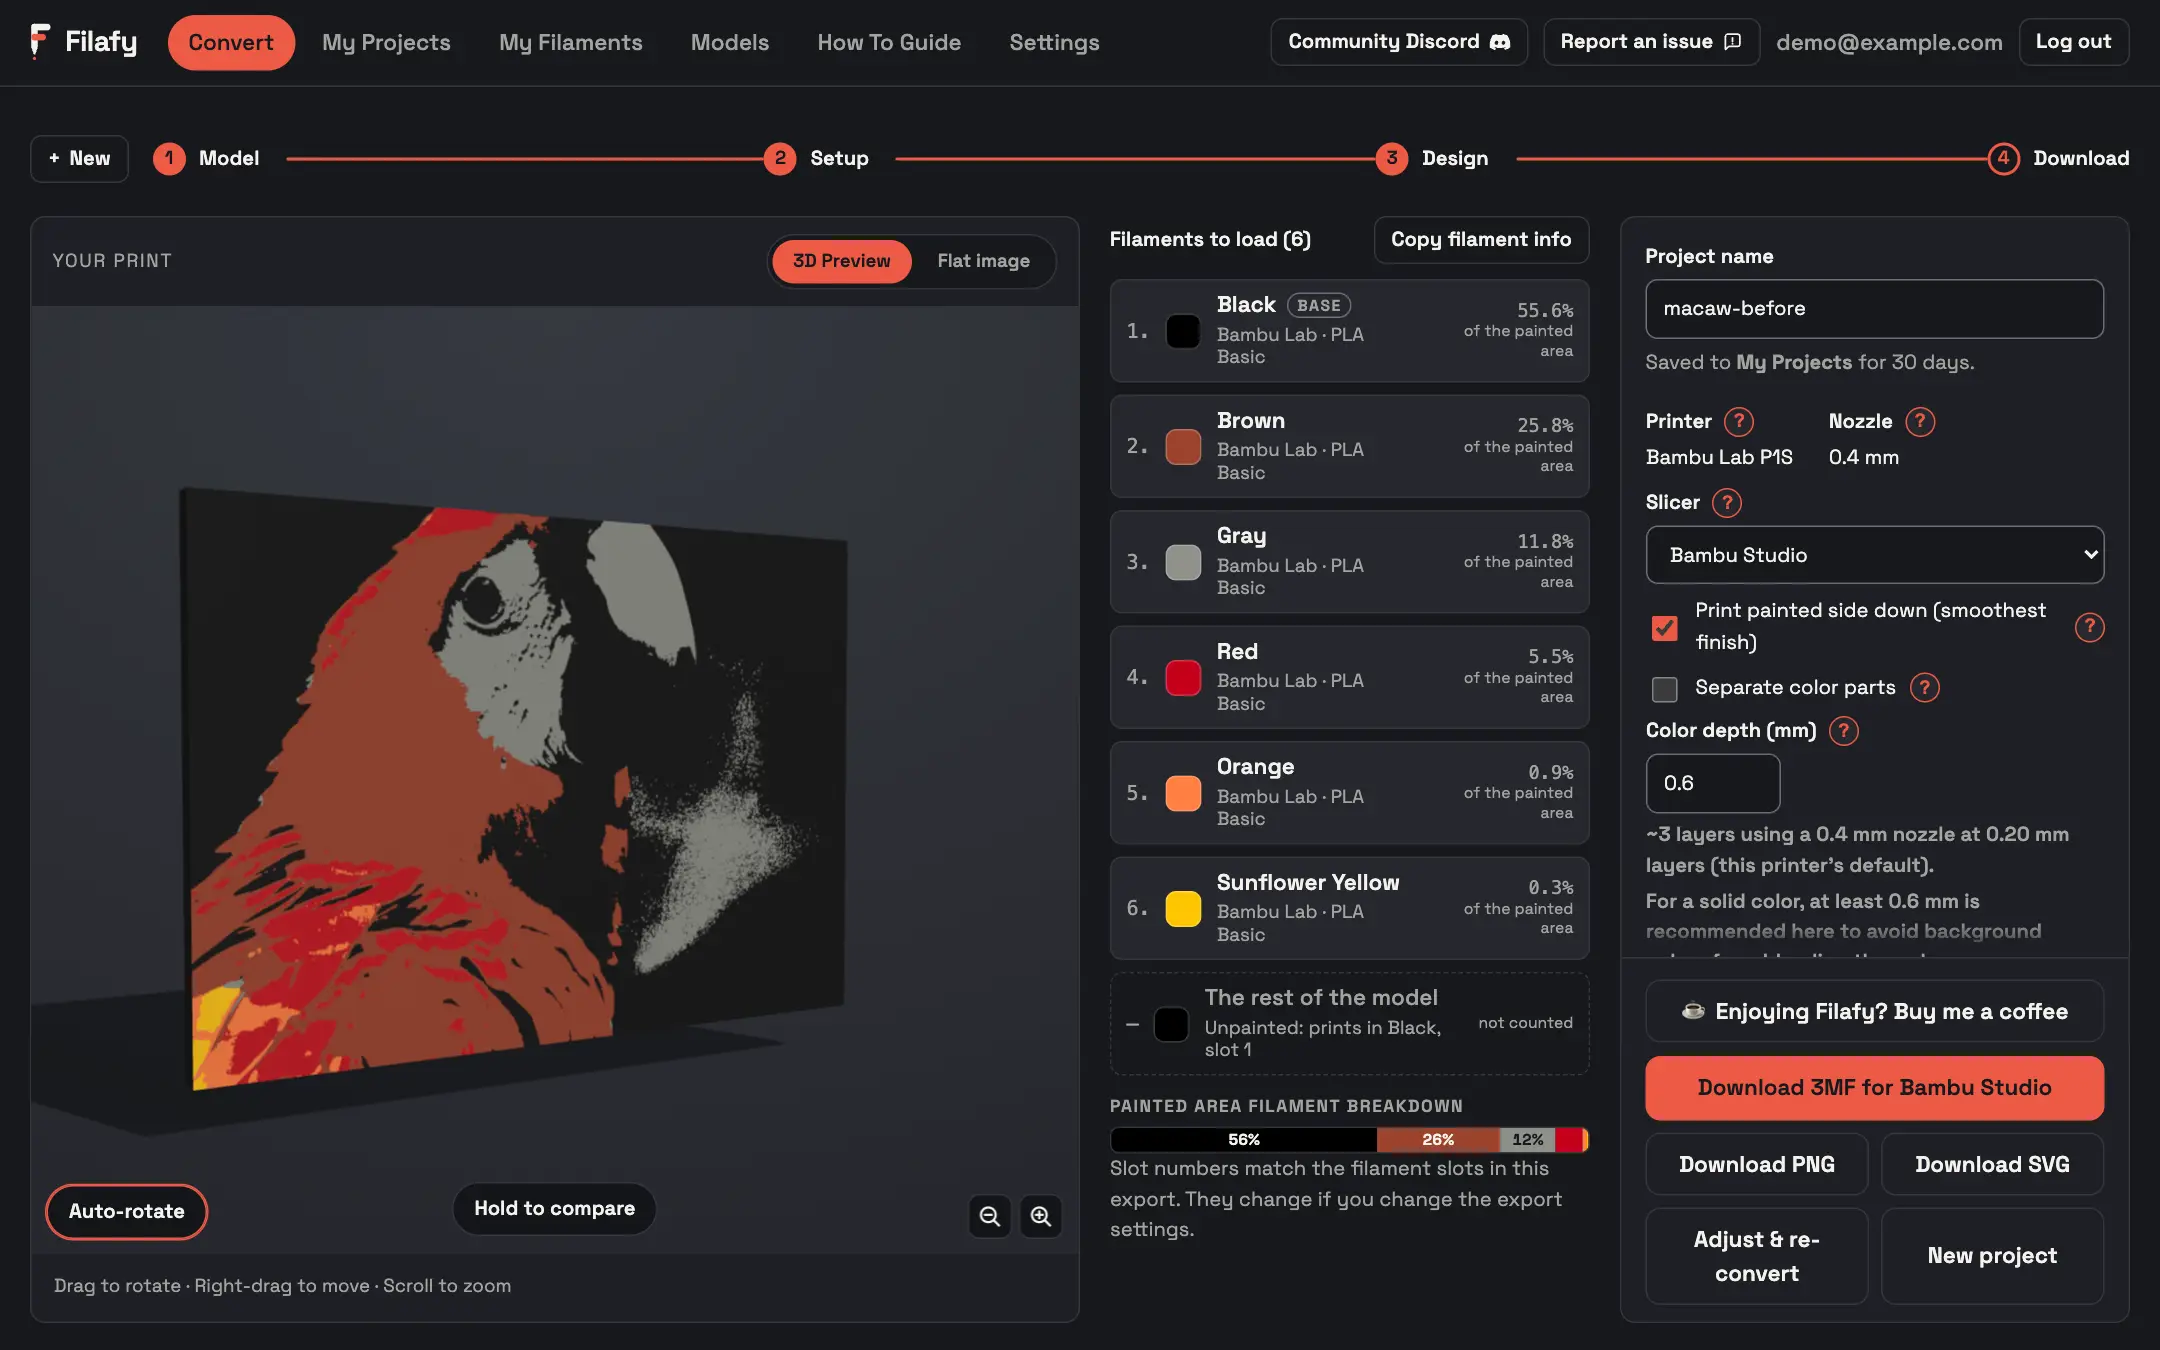
Load the spools in the order of the Filaments to load list. Then press Download 3MF.
Do not rename the file. Its filament presets are tied to its exact filename.
 8
If it goes wrong
- A color you own is not in the print. A color is missing from my print
- Fine detail looks mushy. Place your images
- The slicer shows unnamed presets. Download and print